To prepare for all the plumbing work including septic system, sewage, water supply, etc we’ve come to the point where we need to mark out the foundation. Most things regarding contractors helping us has been decided and it’s time to get busy.
Making the poles for support
Marking out the foundation is something neither me or Sofia has done in the past so after some very much needed reading up on it we got to work. At first we planned on buying lumber for supporting the marking lines but we found some good sized lumber under the old cabin that we could use. We cut up the rather long planks up into smaller pieces that we could us to hold the marking lines.
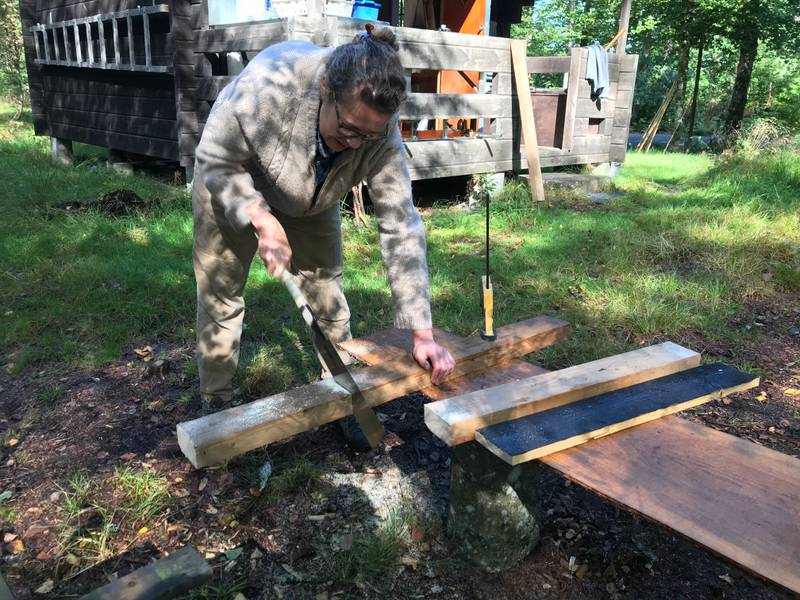 Sofia working on cutting up the support poles for the marking lines.
The poles we cut up are most likely a bit overkill but we’d rather make something that is really sturdy and firm than something flimsy that would not hold the marking line in place. Once cut to length I got to work with the axe making every pole a bit more easy to drive into the ground.
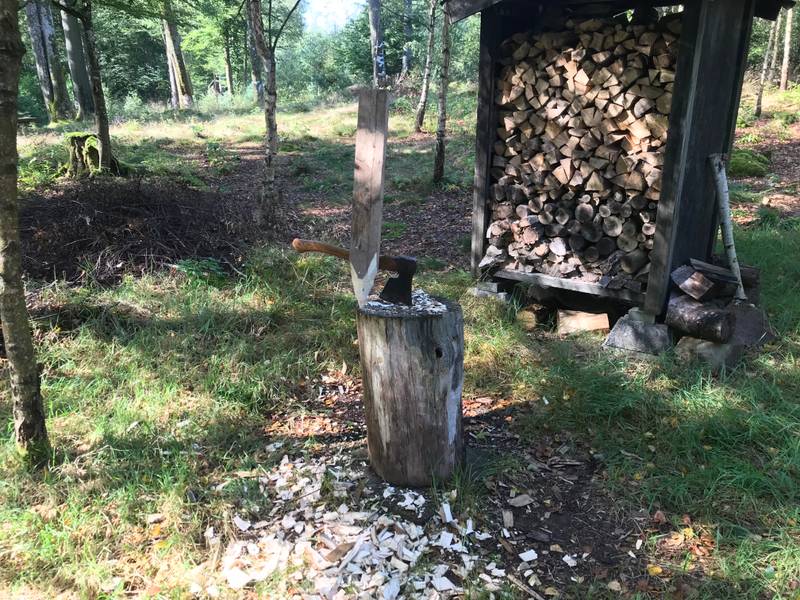 A finished pole ready to drive into the ground.
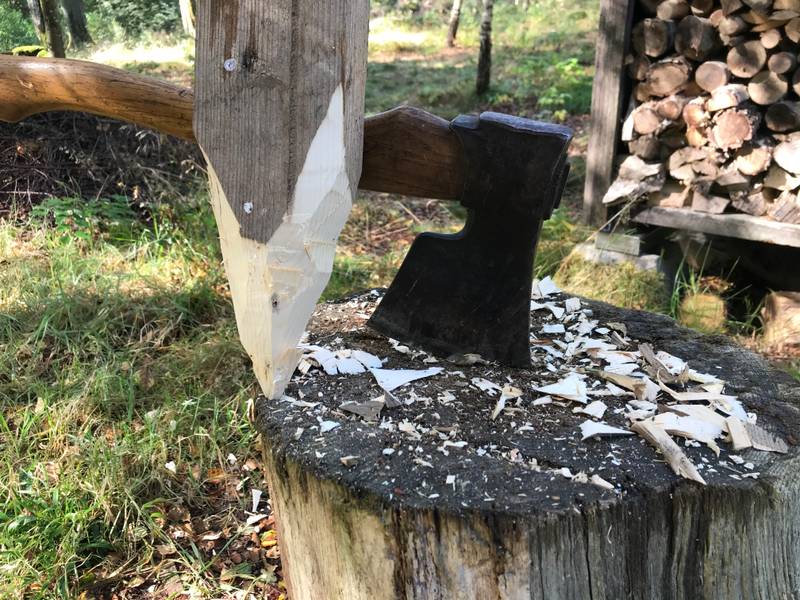 Closeup of the rather exquisitely crafted pointy end of the pole. For the axe connoisseurs out there, yes, that’s a Hjärtum axe.
Getting the poles in place
Once all 12 poles were cut to size and equipped with a sharp end we hammered them into ground, 3 in each corner of the foundation. Once firmly seated into the ground we got to work putting up the batter-boards where the marking line would be attached.
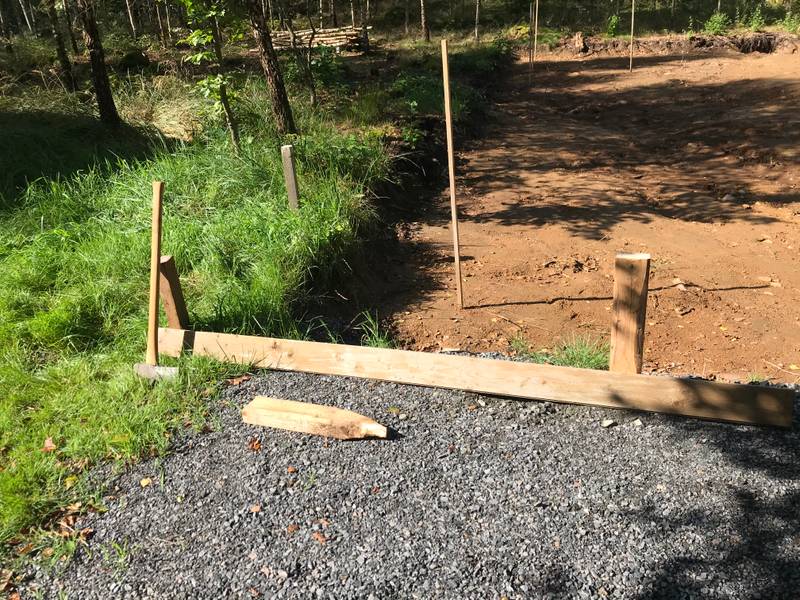 The corner poles firmly into the ground ready for the batter-board to be attached.
Placing the marking lines
To get all batter-boards level we used a laser and a marking stick. It was a bit tricky, this being a first for us, but we feel we got it to a point where it was good enough. When all batter-boards were in place it’s was fairly simple getting the marking line in place and after about half a day of work we could finally see where the foundation floor would be.
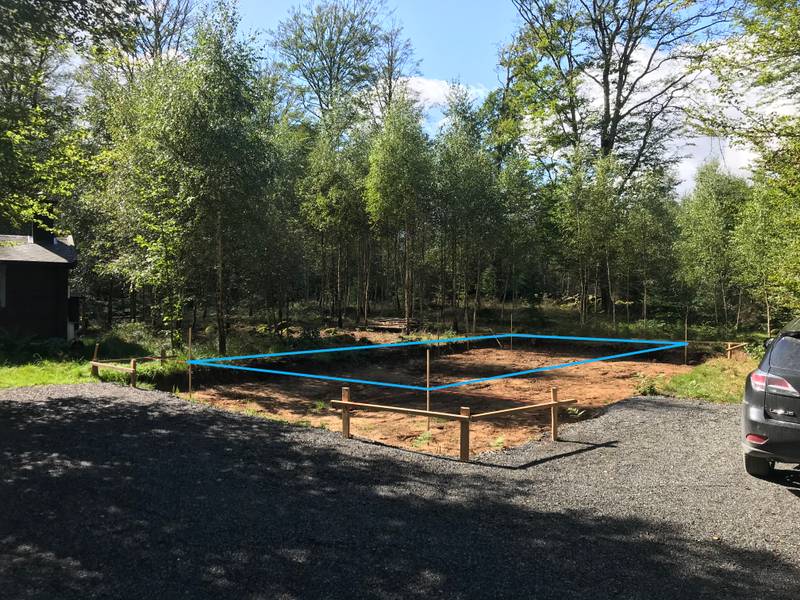 The marking line highlighted in blue marking the floor level of the workshop.
Undecided on the final floor level
Since the ground around the workshop has a slight slope (about 30-40cm over the length of the whole workshop) it may be that we need to fill the excavated area a bit more than we first thought. The other option is to dig out more at the far end of the workshop so that we could lower the entire floor level about 20cm giving us less volume to backfill. We’ll just have to see what our contractor suggests.
The nicest thing with the current floor level is that we can keep the floor at the same height on both buildings and have a elevated wooden walkway (as we’ve planned) between the buildings. We’ll just have to decide if the extra cost for the extra backfill is worth it or not.
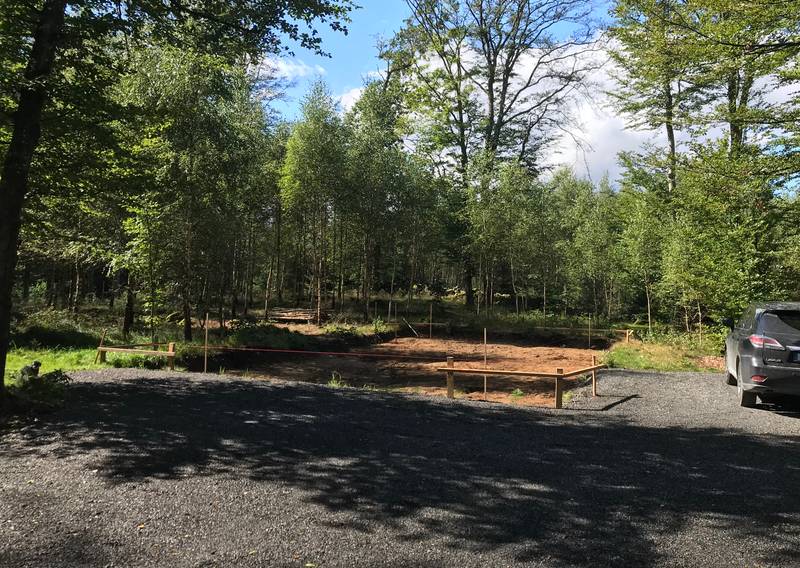 The workshop foundation from a distance.
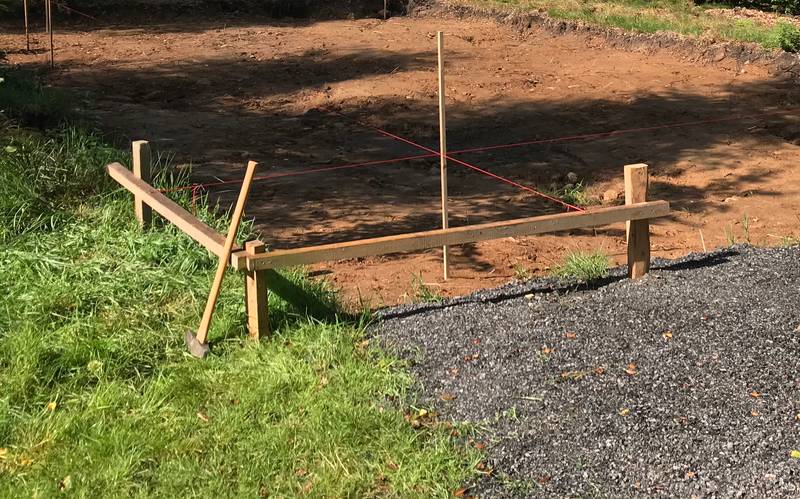 The finished work on one of the corners. A professional will most likely have a lot to add but to our defense, the end result is really sturdy and should stay in place.
 As always Mindy was very happy when the work was completed.
Final thoughts
It was pleasant work all the way driven by our curiosity to get a glimpse of how the workshop will come together. It was a bit of a surprise to find that the ground was sloping as much as it did. It was equally surprising that the floor level for the workshop could be exactly the same as the house. Time will tell if we end up going for this or end up tweaking the floor level after discussing with our contractors.
Either way, exciting times to see the workshop slowly take shape even if you still need quite a bit imagination to picture the end result.
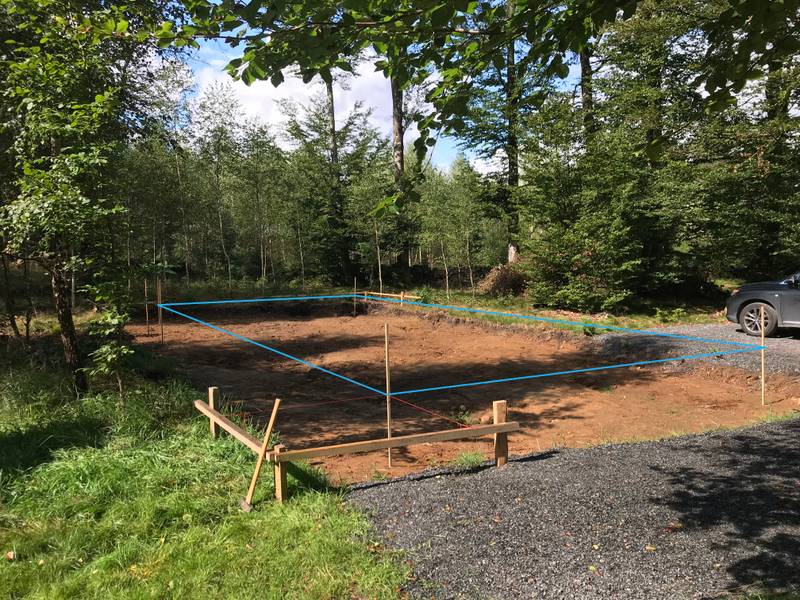 The foundation marking line showing the finished floor level.
