

Lot’s of things happening this time of year. Hot humid weather but good progress with a new water well being drilled, more insulation and the sewer system installed and ready to use.
More insulation
This seems like a never ending story and will most likely be something we work on in the coming months to get it done hopefully before fall.
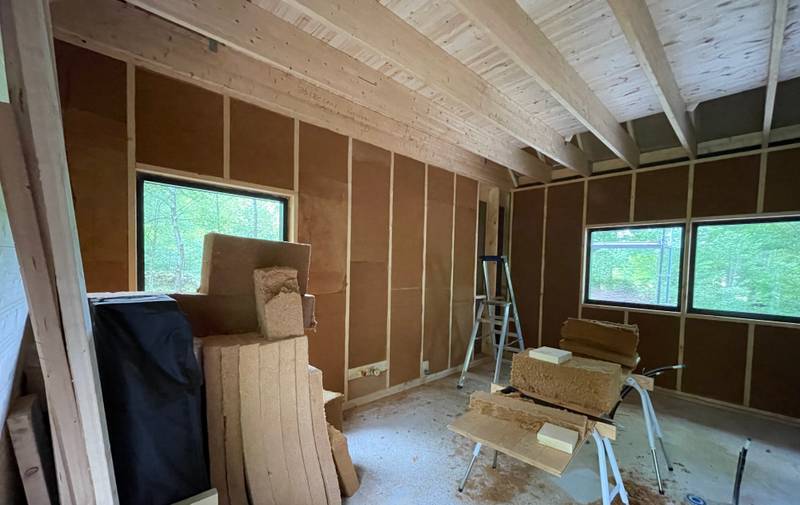 Just more walls insulated with wood fiber.
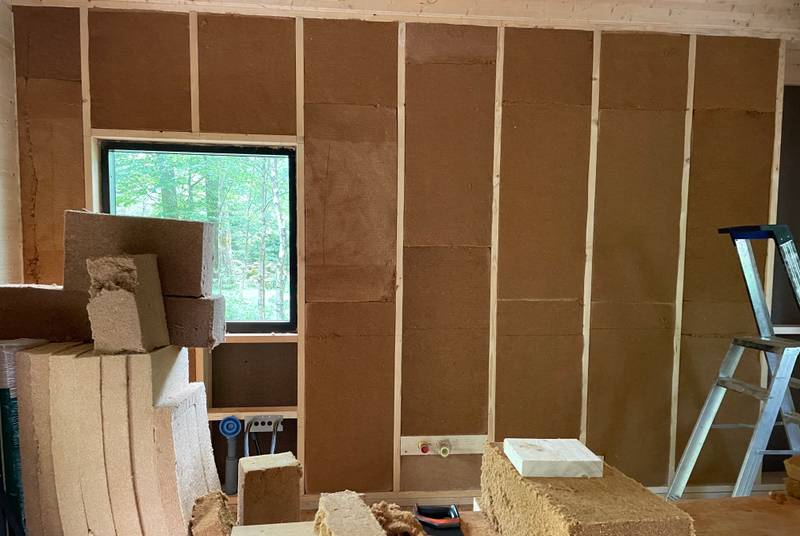 The western wall almost completely finished. A bit fiddly around the pipes.
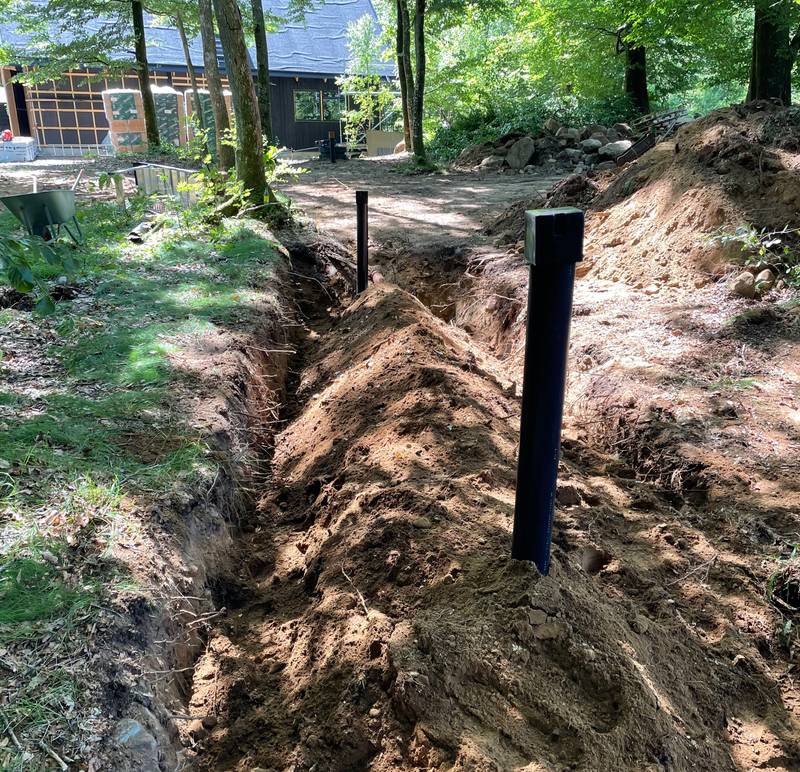
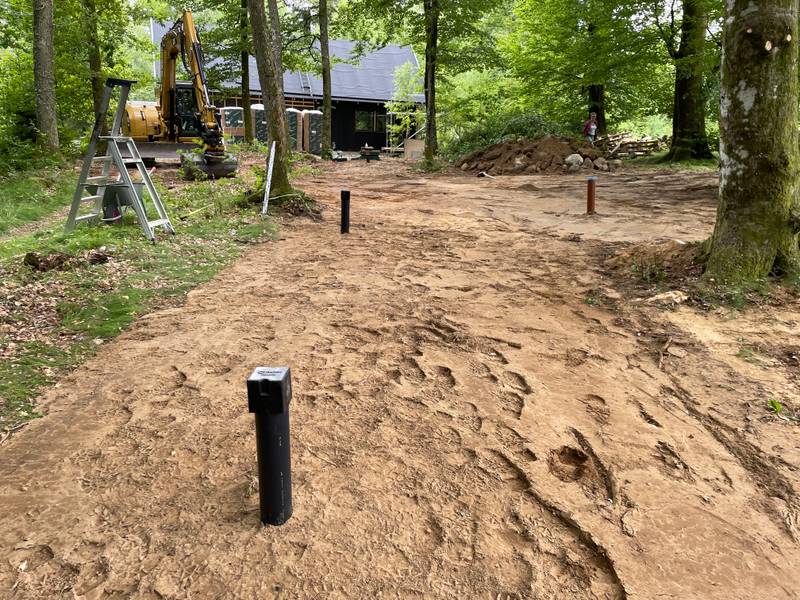
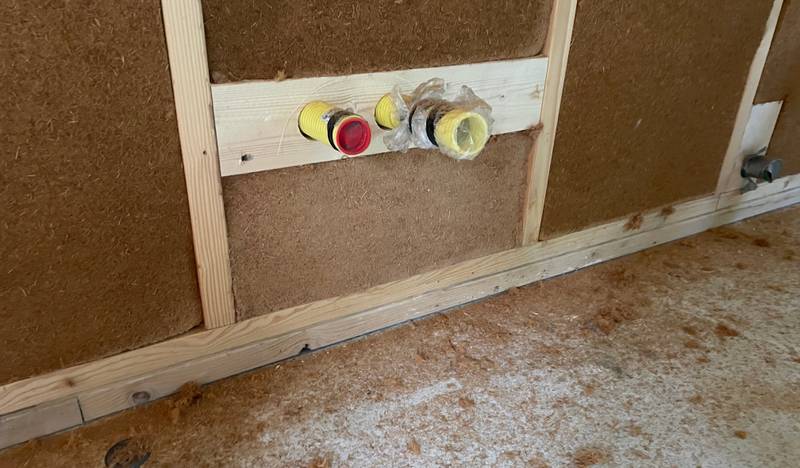 Tubing for electricity to the main building as well as some planned lights along the road up to the houses.
Drilling for water
We got some help from HP Borrningar(Swedish) to drill for water. Great company to work with who made the job feel very effortless. About 1.5 days of drilling 100 meters down into the bedrock and we have enough water for our needs.
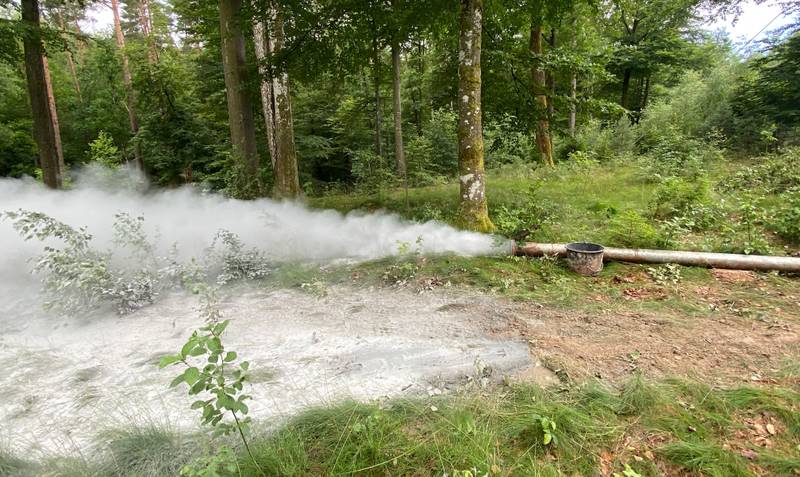 A lot of dust from the drilling covering a big area of our property. Luckily we don’t have any neighbors nearby and the area covered with dust will be excavated next year as we build the other house.
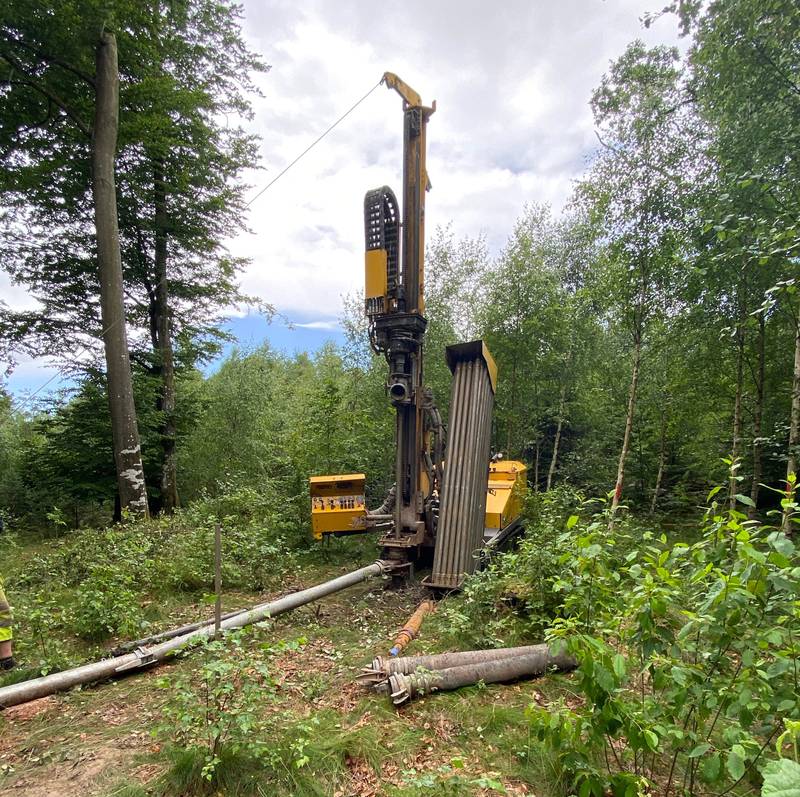 The drilling rig.
Installing the sewer system
After reviewing various sewer systems we ended up buying a traditional system from Fann(Swedish). It’s a tested system from a reputable company that’s been around for some time and we also got a very good price on it from our local company. It’s a 3 cubic meter system with a 6 meter long filtration bed. The main tank has 3 chambers that separate the solid material from the liquids. Pretty standard here in Sweden.
It’s all connected with 100mm pipes all placed with a slight grade from the high point, being the house, to the low point, the end of the system, the filtration bed. The system was made in a way so that we don’t have to use an kind of pumps when operating the system.
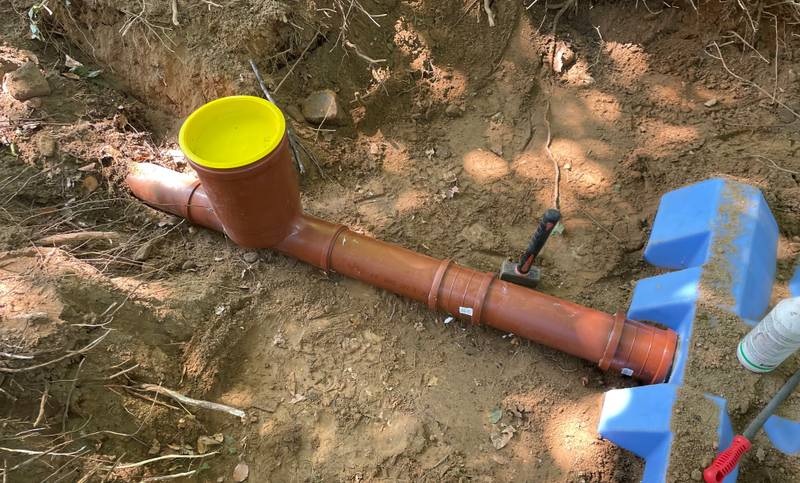
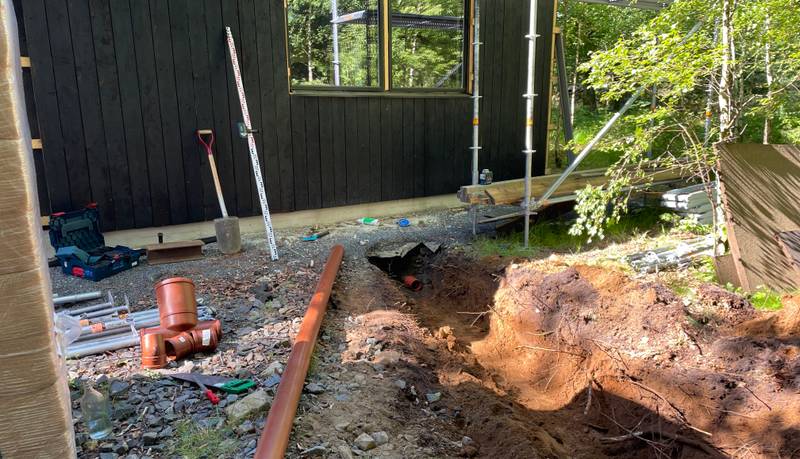 This is where the main sewer pipe exits the workshop.
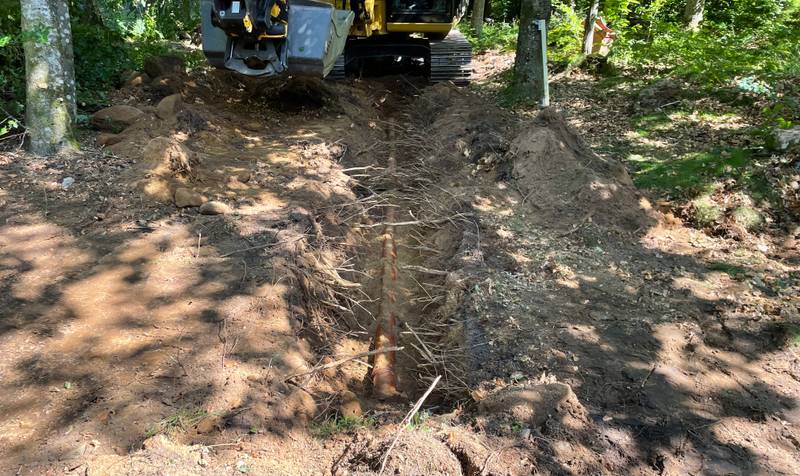 Placed at least 35cm down, the 100mm pipe stretches about 10 meters from the house where it the will connect to the main tank.
Placing the septic tank
The main septic tank, with 3 chambers and 3 cubic meters should be more than enough for our needs and will only need emptying once every year. It’s all plastic and should serve us well for decades to come.
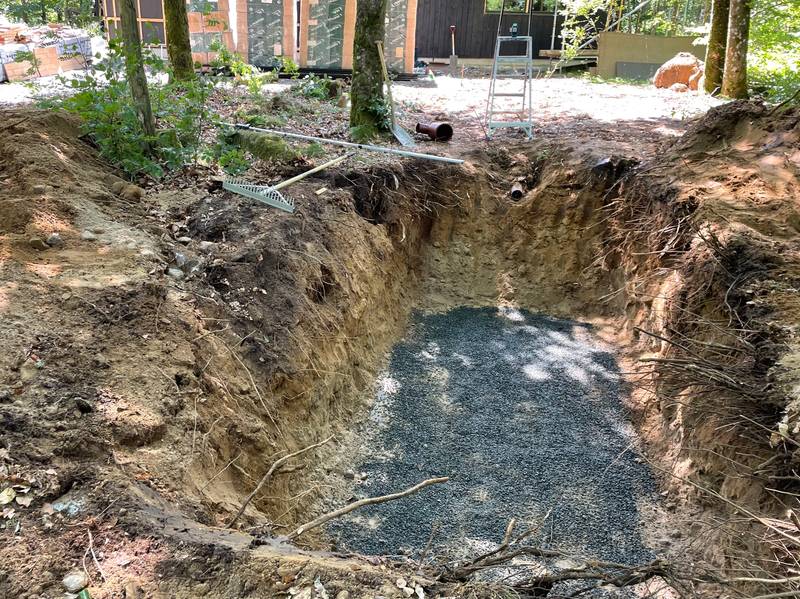 The large hole with level gravel ground ready for the tank to be placed. Just below the ladder you can spot the 100mm pipe that will connect the tank with the workshop.
 Just before the pipe connects to the tank, we placed a T-connection to help any future cleaning of the system. Hopefully we’ll never need it though!
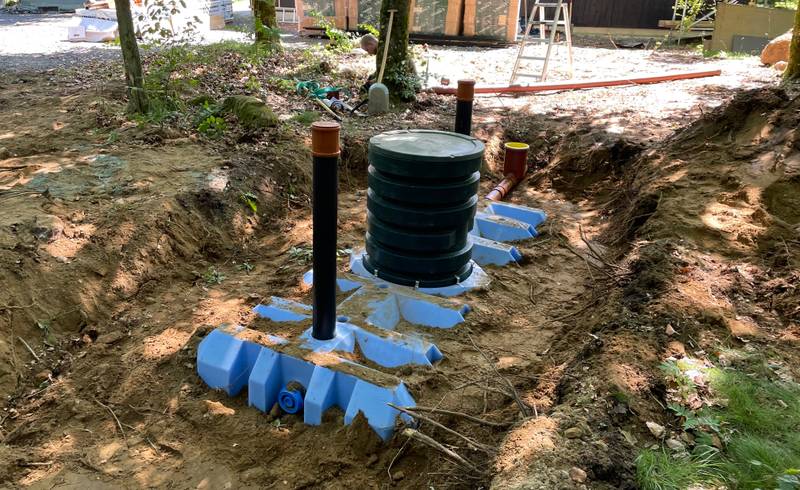 The tank in the ground with packed dirt all around it. The two smaller pipes are air intakes/outlet and the big pipe in the middle will be opened for emptying once a year.
The filtration bed
As the main tank fills up with any liquids from the sewer system it’ll eventually spill over. The black water exiting the tank will drain into the filtration bed where it’ll be purified when slowly passing through the filtration.
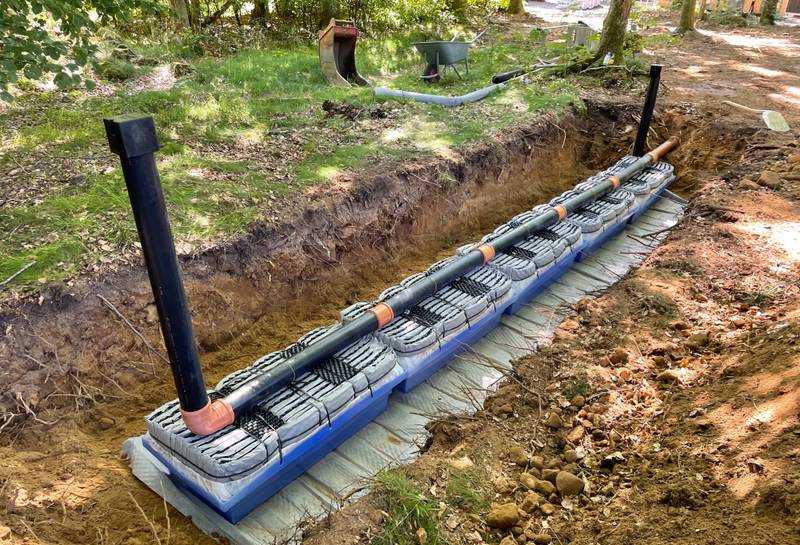 The filtration bed with the air intake and outlet sticking up.
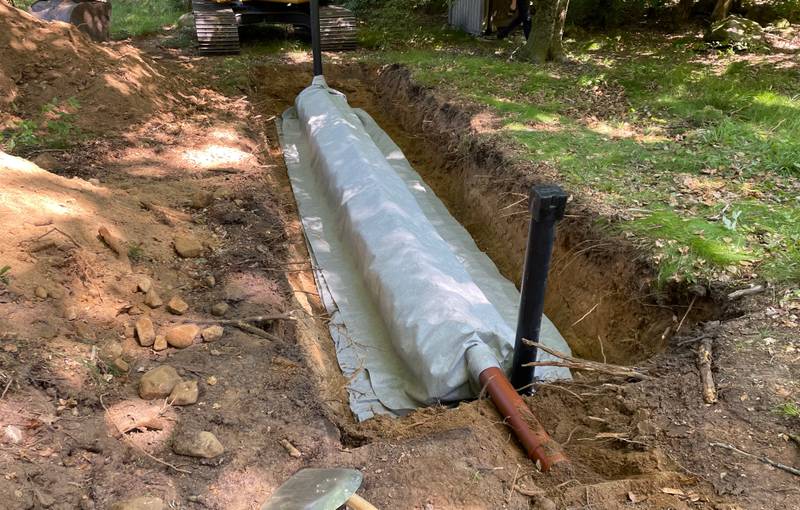 The filtration covered up with ground textile keep the earth from getting into the filtration bed.
 The filtration bed being covered with dirt.
All done
It’s kind of a boring project to do as you do a lot of physical work getting the whole system installed and then in the end you cover the whole thing up as much as possible. It’s good to have it done though and looking forward to using it, especially taking a shower! Unfortunately it won’t happen for a while as we need electricity installed in order to pump water into the whole system.
 The view from the filtration bed towards the workshop. It’s about 25 meters up the workshop from here.