

It’s been a really long time since we last posted any updates, mostly due to a lot of other work, but also less interesting things to write about. In this post, we’ll try to summarize what’s happened during 2023.
We got light
Now that we got electricity, we can install proper lights in the workshop. After considering installing tube lights, we landed on attaching LED strips to every other beam in the ceiling for an evenly distributed lighting solution. This was done in the beginning of March.
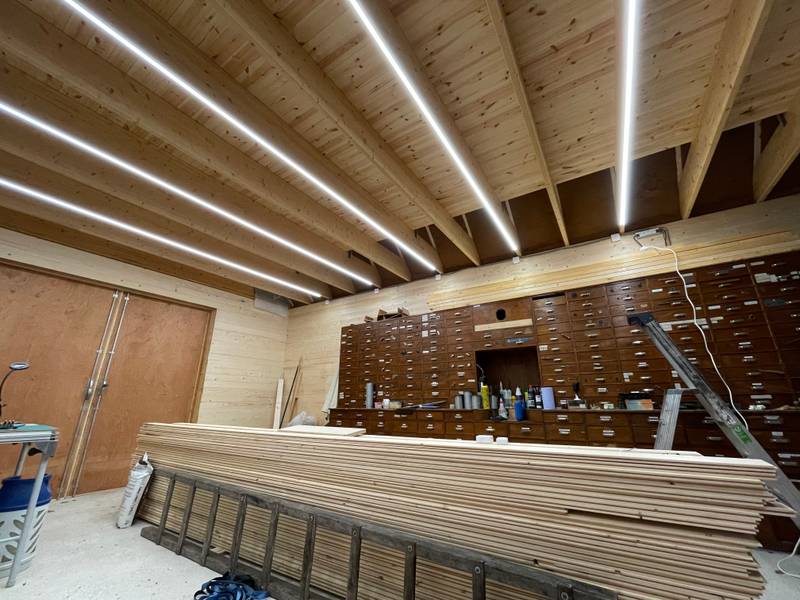 Every other beam got 5-meter LED strips installed connected to a dimmable driver.
 This is how nice it looked when emptied and ready for inspection.
Finishing the Bathroom
This was a project spanning several months that started with the very basic task of framing the walls, adding OSB sheathing, and gypsum board.
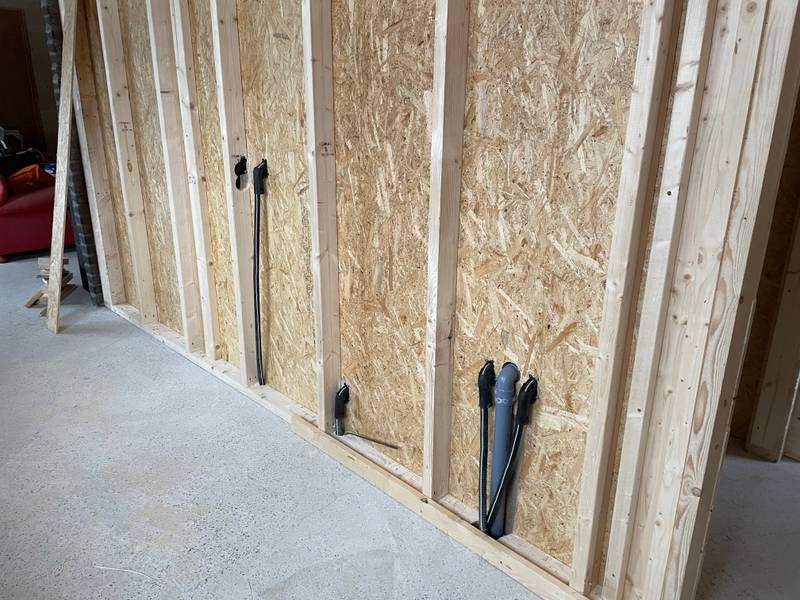 The outside wall of the bathroom prepared for water by the plumber.
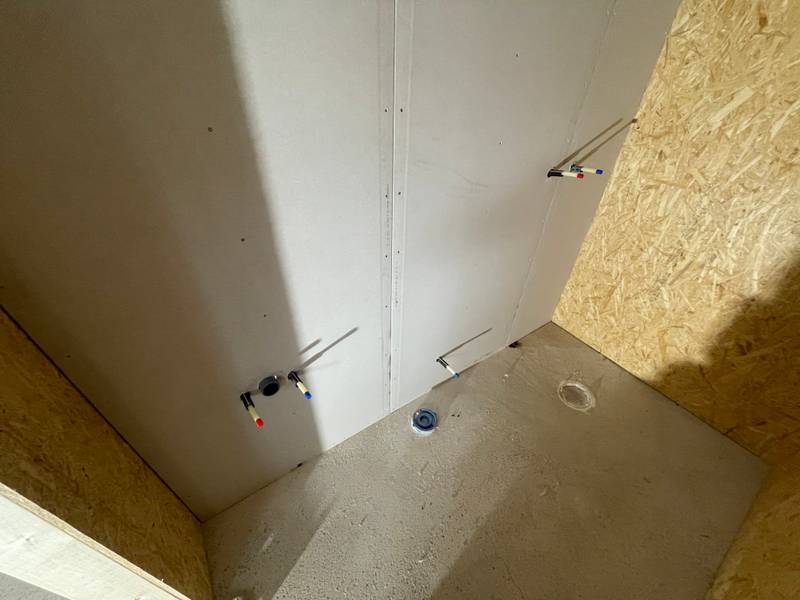 The inside of the same wall with the pipe sticking through the wall and sewer in the floor.
When the entire bathroom was covered with gypsum board, we added a bit of plaster between the boards to even things out. Not really needed but not a lot of work. After that, it was time to begin work on the waterproofing. Following the manufacturer’s very precise steps, we added several layers of membranes to finish the whole thing with two layers of Tadelakt.
 Waterproofing the walls started off with a couple of layers of red primer. The raw concrete floor was primed with a different primer.
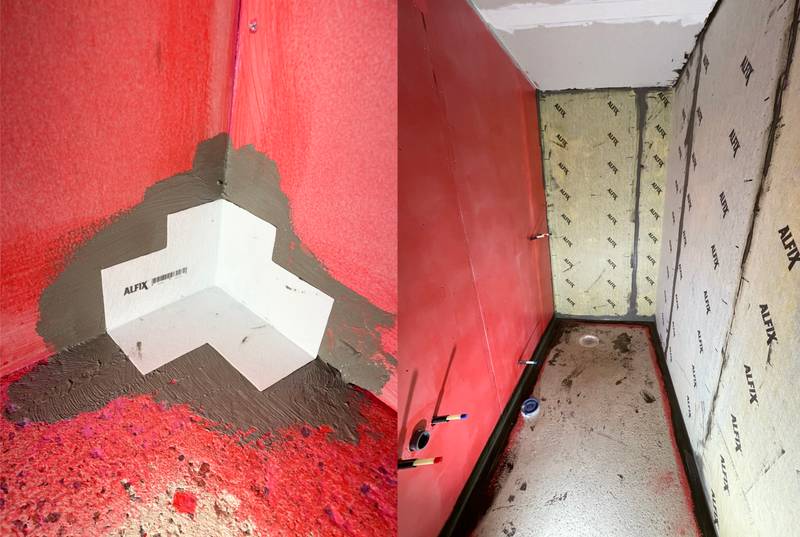 Starting with the corners and connection to the floor, we added the main waterproofing layer with a 2-component “glue” covered with a textile membrane. Once corners were done, we added the textile membrane on the wall using the same process.
A professional would do this job a lot quicker, but hopefully, we got everything right, and the walls should be waterproof for years to come. It was the first time we did this, and considering the location of the bathroom having a concrete floor, we thought we could take the risk and do the work ourselves. If this was on the second floor with wood joists and/or an outer wall, we would likely bring in a professional for this work.
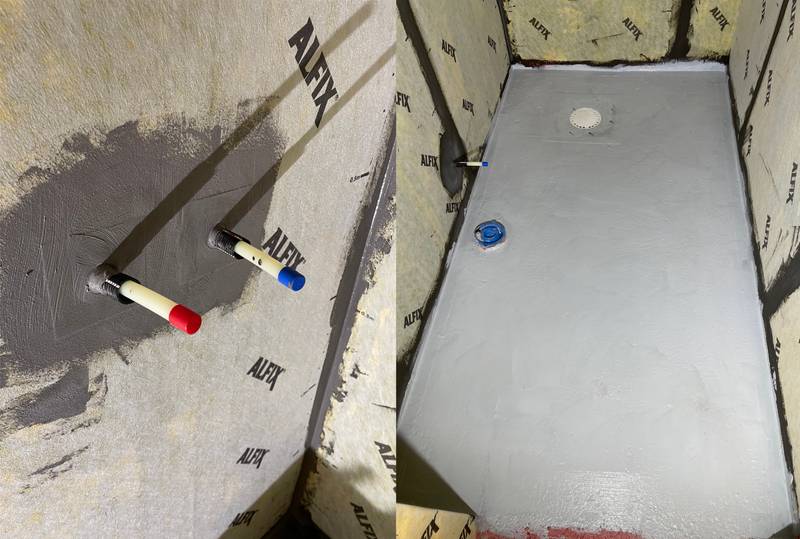 Every pipe going through the wall had a special gasket around itself and extra “glue” to make it extra protected. The floor waterproofing was not a textile membrane but a thick paint rolled out in several layers.
After waterproofing the whole bathroom, we needed a firm layer to go underneath the final Tadelakt plaster. This was applied with fiberglass netting with lots of overlap and flattened as much as possible to prepare for the final thin layer of Tadelakt.
 Last layer before the Tadelkat was a fiberglass netting covered with hard tiling plaster. This provides a firm sublayer making sure the Tadelakt won’t crack.
Before doing the Tadelakt on the walls, we needed to add the tiles on the floor. 10x10cm tile was done. The first time in a long time for us. It was a bit tricky with the shower area and getting the tiles to evenly line up and still following the slope of the floor towards the shower drain.
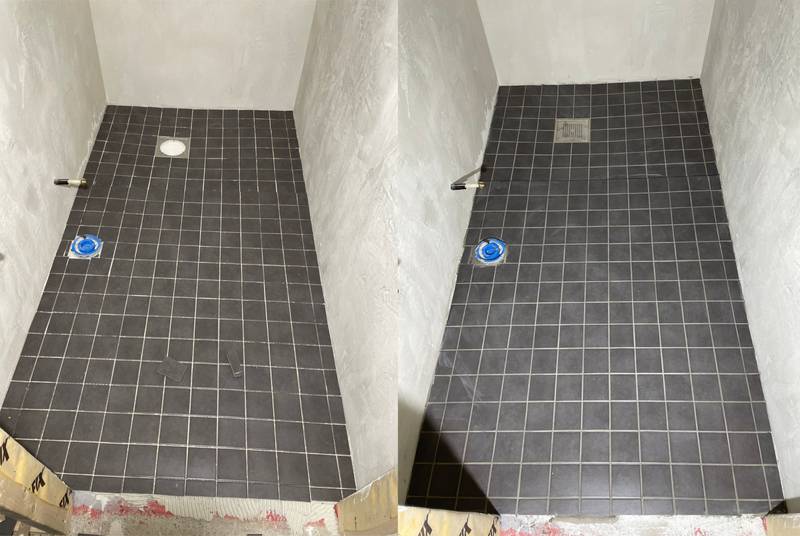 The tile floor before and after grouting.
Once the tiling was done and fully dried, we could finally start with the Tadelakt layer. A bit scary since this would be the final layer. The technique we used was to go with a single wall at a time, first doing a rough layer of 1-2mm and then letting that dry up slightly. Once dry enough, we added a second very thin layer and worked it into as smooth a surface as we could do.
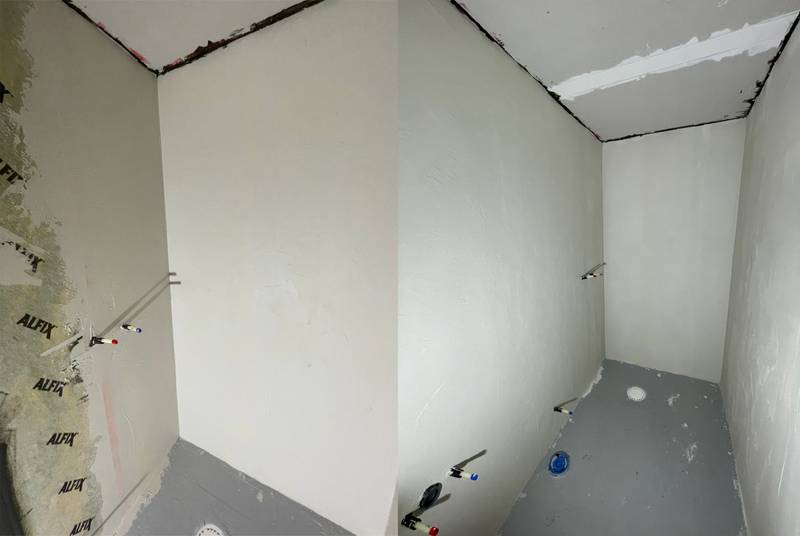
 The left side of the image shows the first rough layer and then the final second layer worked into a flat surface.
When the Tadelakt has dried, the final surface was treated with olive soap over several days. As the Tadelakt is mainly lime-based, this layer will harden over several weeks as it reacts with the carbon dioxide in the air.
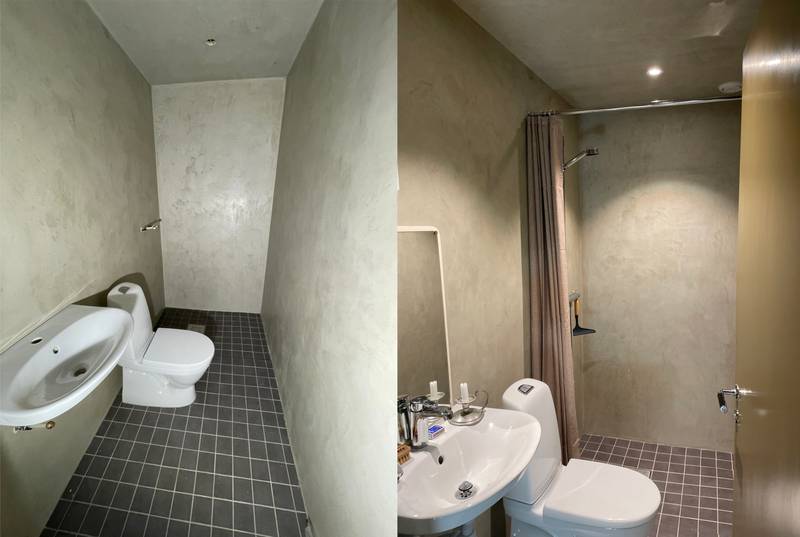 The almost finished bathroom with the toilet and sink installed and, to the right, the final working bathroom with shower, water, plumbing all installed ready for use.
The bathroom project took several months to complete and was finally ready in September 2023.
Outside the Bathroom
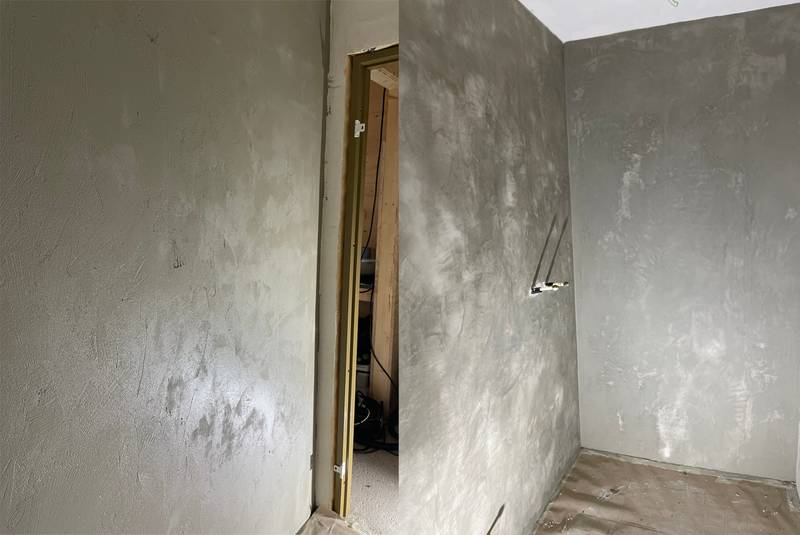
With the inside of the bathroom all done, we needed to get the walls around the bathroom done. We did some testing of colors and landed on a combination of linseed oil-based paint with old-school tar. A mix that did smell a lot but had the surface we wanted. The only real drawback is the time it takes for the paint to dry, 1-2 weeks.
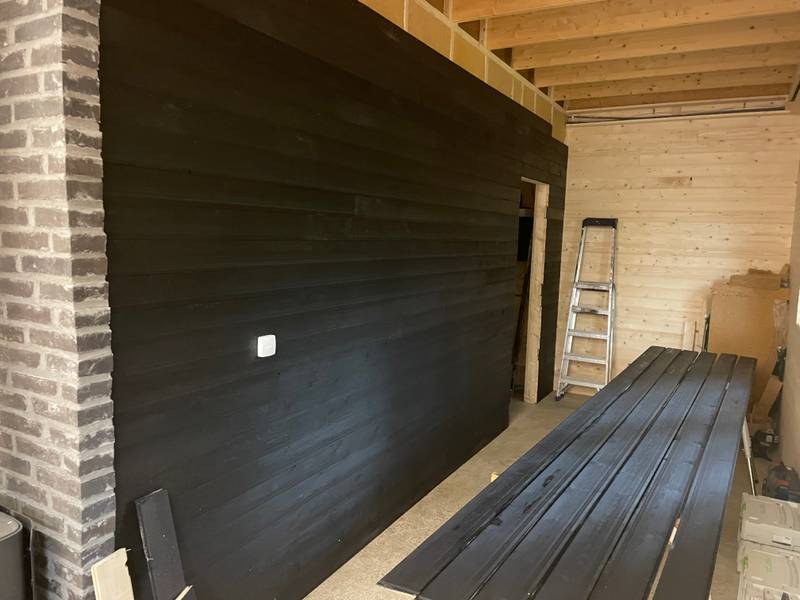 The wall planks are first painted before being installed 1-2 weeks later.
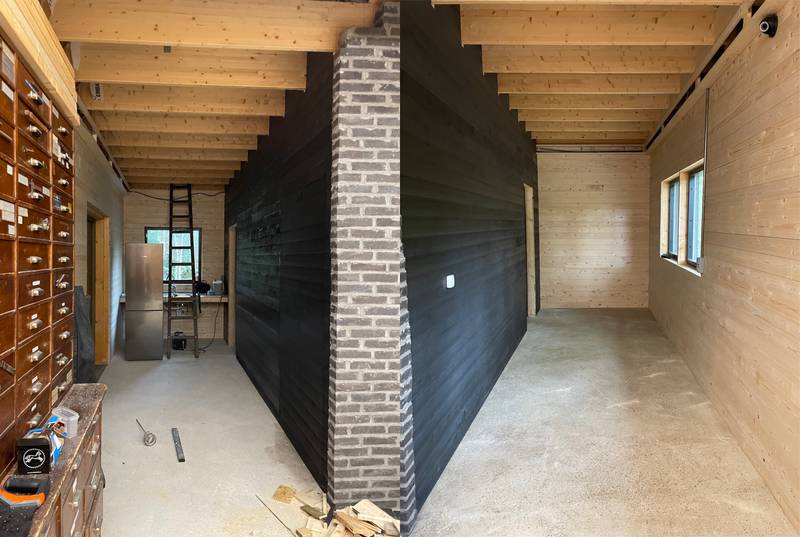 The final walls on both sides.
Ready for inspection
The final bits and pieces to get the workshop ready for inspection were to get all water systems working as planned and getting the heating in place. When that was in place, the house was ready for inspection.
 Finally ready for inspection. This is most likely as clean as the workshop will ever be.
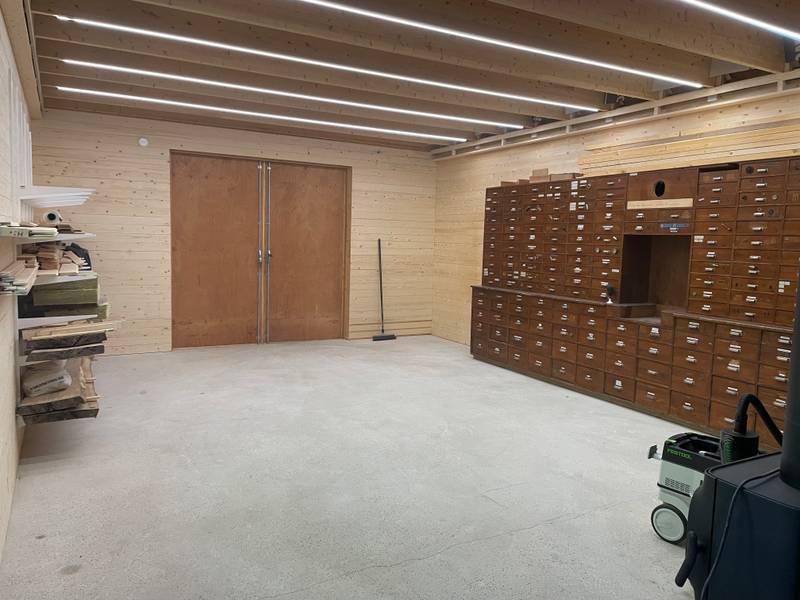 A very clean view of the workshop ready for inspection.
The inspection was mid-October 2023, and the workshop was approved, and we could start using it. Very happy with this huge milestone.
Moving the cabin
When we bought the land, there was already a small cabin on it which we’ve been using during the time building the Workshop. It was always the plan to move the cabin away from this location, but we were unsure if we would sell it or just move it to a different location on our land. In the end, we sold it, and it got moved to a new, very nice location only a few kilometers away from us.
 The cabin on the truck bed and in place in its new location.
 The remaining concrete pillars where the cabin previously was.
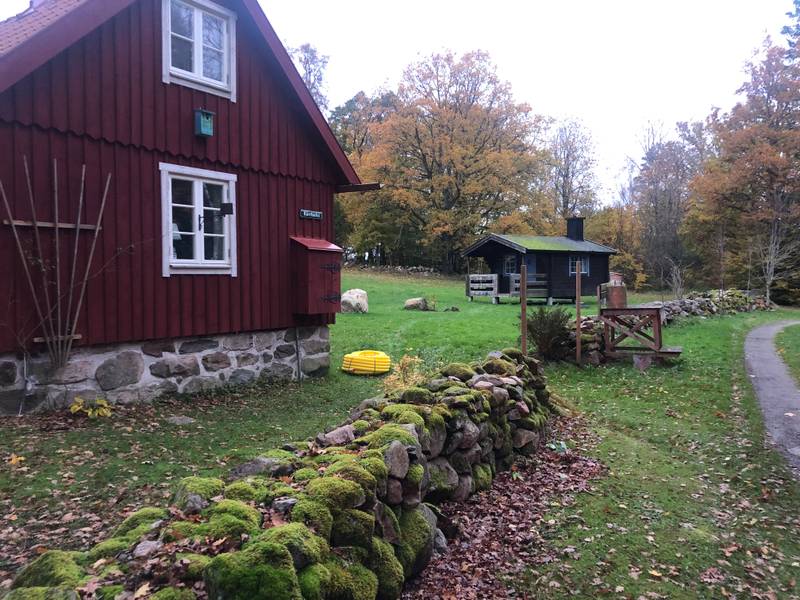 The cabin now lives next to an old croft more than 300 years old.
Concluding 2023
The year ended with planning, and then we finally started digging the foundation on the main house. The goal is to have this complete by the end of 2024, and this time we won’t do much ourselves but have hired contractors to do the main part of the work. More info and pictures from this will come on a future post, hopefully in a not too distant future.