

With the foundation marked out we were now ready to take the next step and actually start work on the foundation itself. First up is getting a pipes, sewer system and connections in place.
Filling the foundation
A few weeks ago we had Magnus remove the organic soil preparing the ground for a more solid and stable material to build on. With that work done and the excavator in place we were ready for the first truckload of stone crush to arrive. We had chosen a stone crush with sizes ranging from 0-90mm. A fairly coarse stone but also a stone that will provide a very stable base for the whole building.
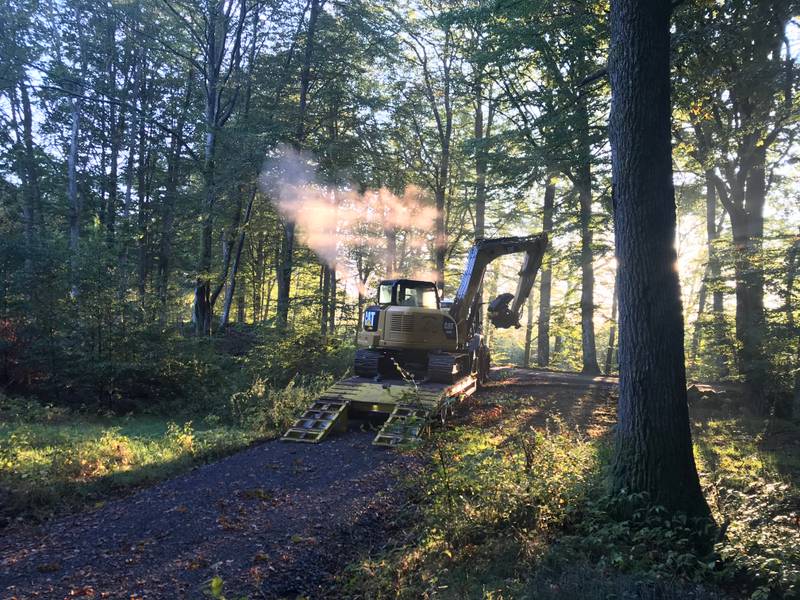 When the sun was barely peeking over the horizon, Magnus arrived with the excavator.
The plan for the day was to get as much 0-90mm stone crush into the foundation as possible. We got off to a bit of a slow start and spent an hour or so just planning out the work (we also did some digging for water but more on that in a later blog post). Just after lunch the first load arrived and Magnus got to work moving the stone crush evenly across the foundation.
 Each truckload of stone crush hold approximately 15,000kg or 7m3.
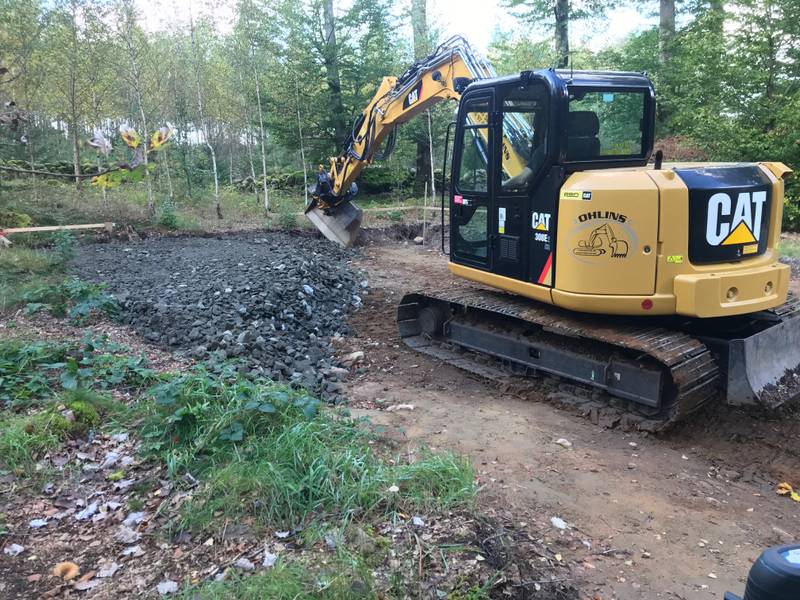 We used about 35-50cm of stone crush to get to the level we needed to be at.
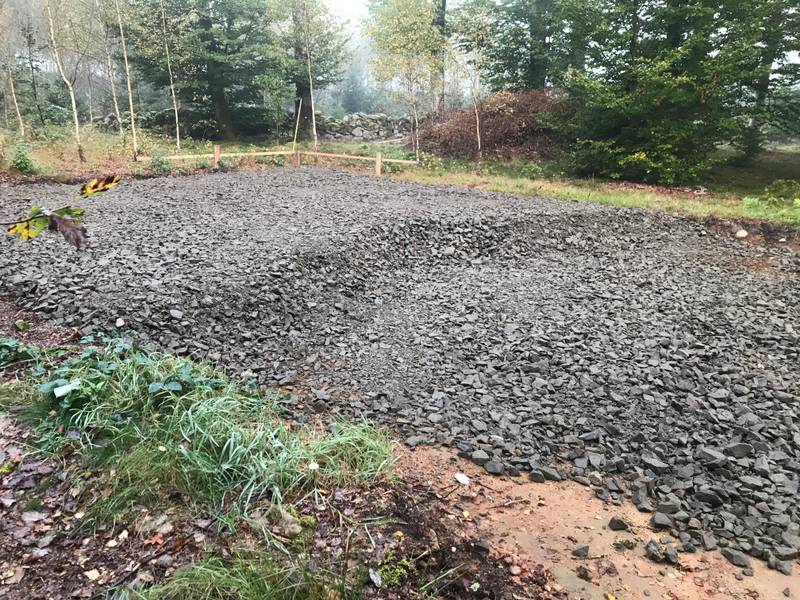 It may not look like a lot but that’s 3 full truckloads of 0-90mm stone crush, or about 45 tonnes.
The next day
We got about 3 full loads into the ground that day 1 so first thing the day after we had another 4 truck loads delivered that were put in place. Since we needed some finer stone crush for packing around the pipes we also got some 0-16mm stone crush delivered. An hour before lunch the whole foundation was evenly filled and we used a 500kg compacting vibrator to pack it all. After 6 passes across the entire foundation subsurface it was firmly packed and we moved on to marking up the walls and piping locations on the ground.
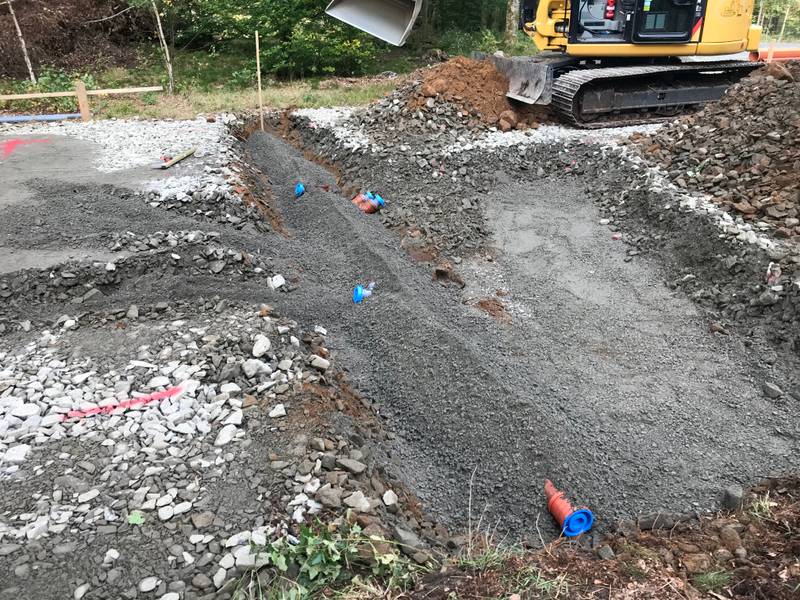
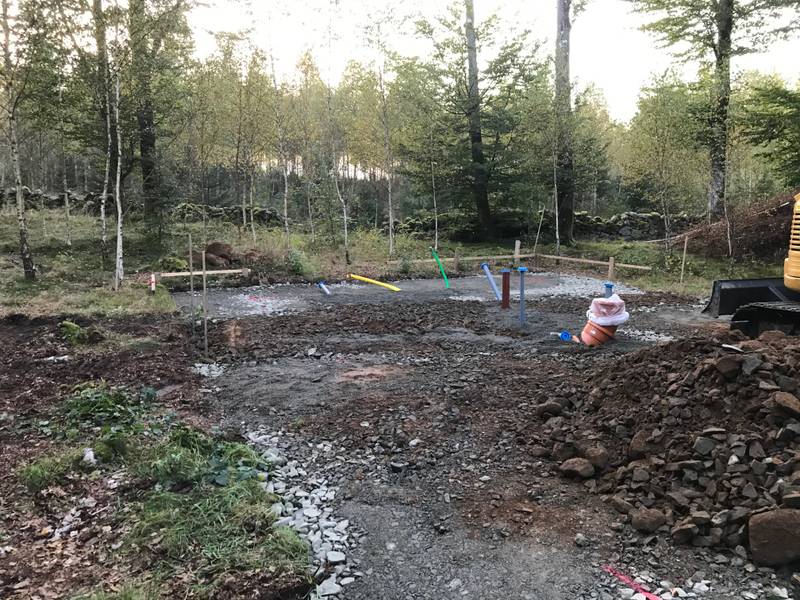
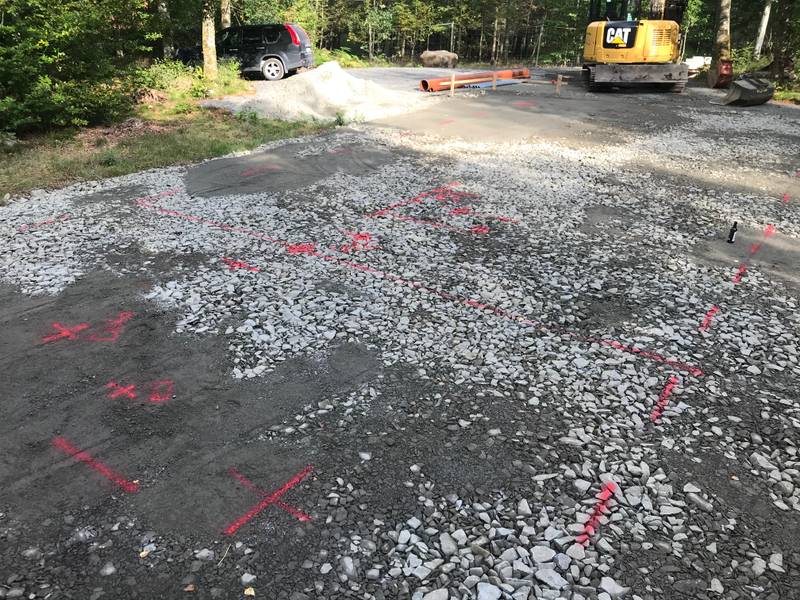 The packed ground with a mix of 0-90mm and 0-16mm stone crush. The spray markings on the ground mark the foundation, inner walls and piping.
Piping for the sewer system, water, electricity and network
After some discussion we decided the best approach was to assemble the main sewer pipe as it would be once in the ground, lay it out and mark where we needed to dig. The other pipes with incoming water, electricity and network cables didn’t need to be that deep so digging didn’t need much planning or marking.
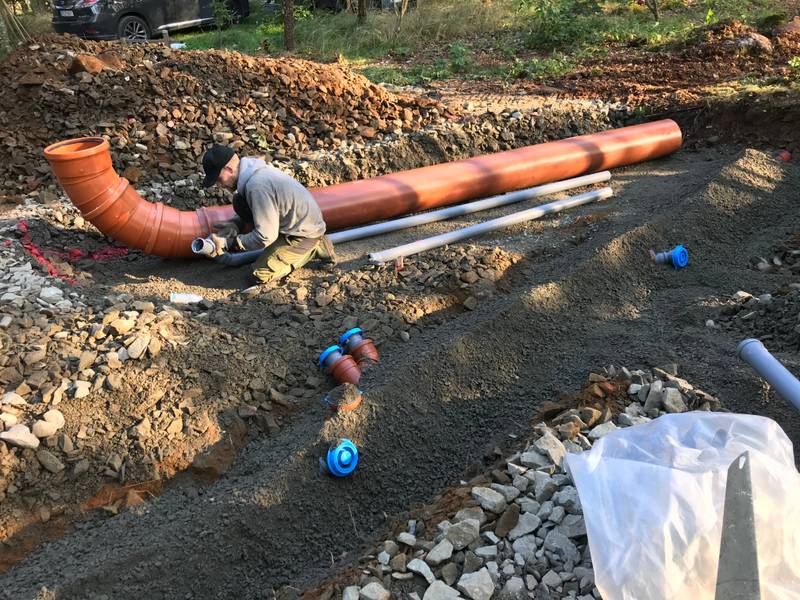
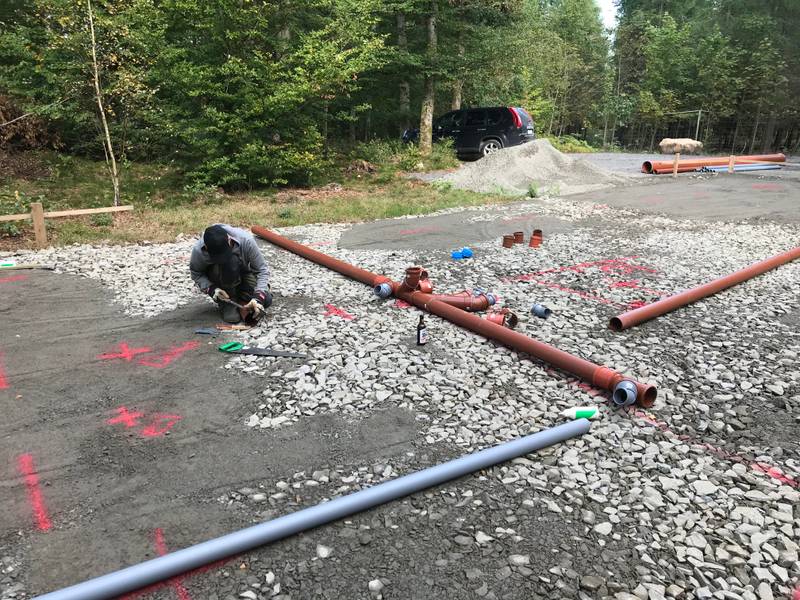 The nearly assembled main sewer pip stretching the width of the workshop. This end of the pipe near to the camera will later be connected with the other house.
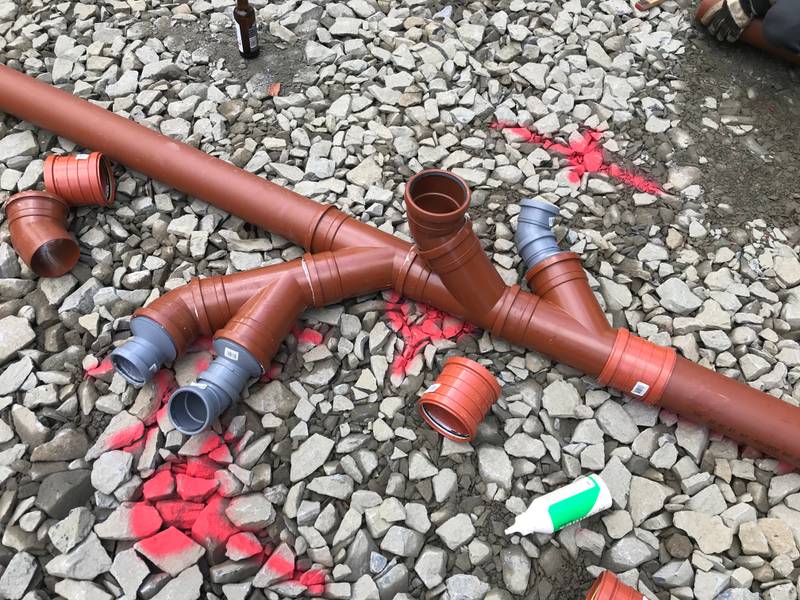 Closeup of the main sewer pipe. The large pipe is for the toilet and the other 3 connections are for a toilet sink, shower drain and floor drain in the room with all water installations.
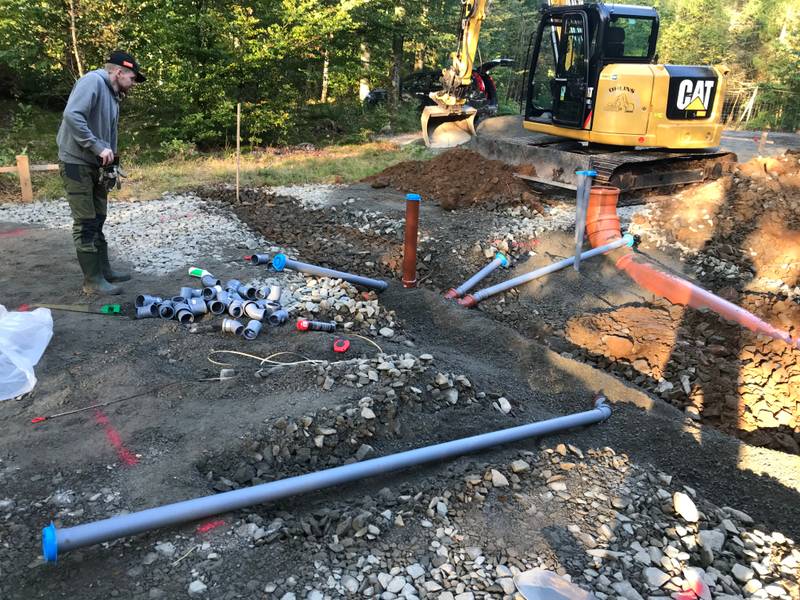
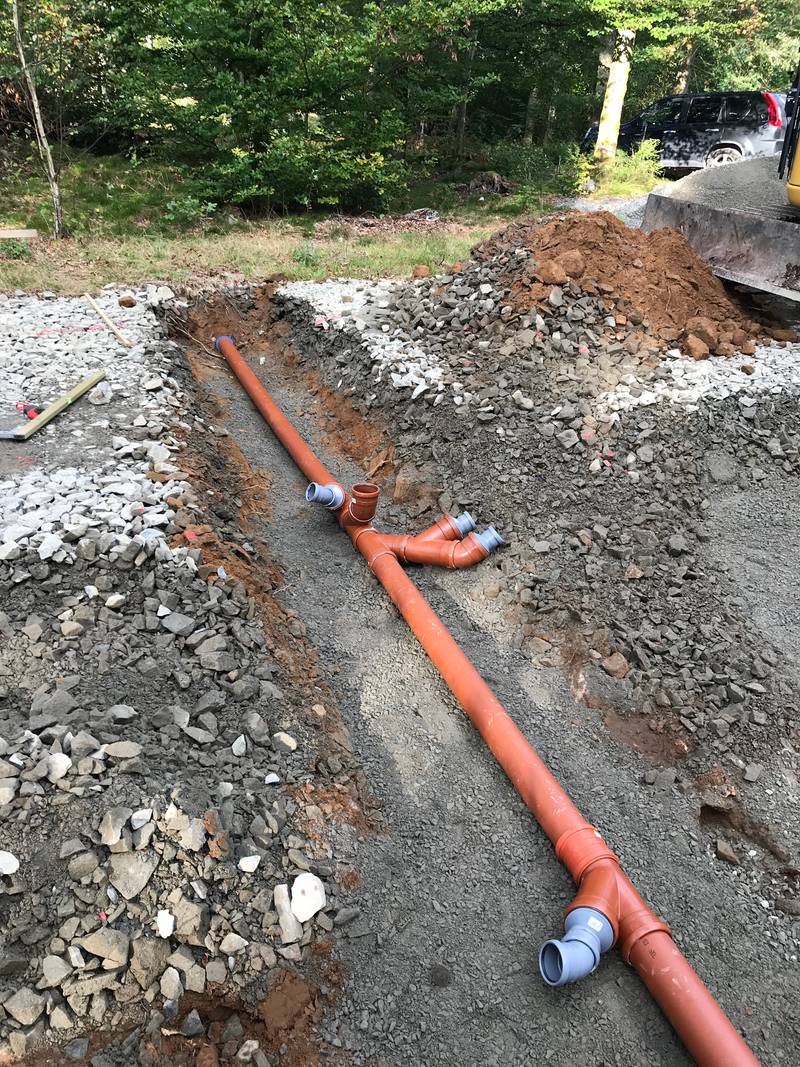 The main sewer pipe in place with 0-16mm stone crush under the pipes.
 Filling up around the pipes with 0-16mm stone crush gently packing making sure the pipes remain in place.
The mother of all pipes
Getting the sewer system in place was a pretty standard operation with standard sized pipes. The workshop, once finished, will have a few uncommon solutions and one of them is the 315mm pipe going from the water technical room and out under the workshop towards the other house. This large pipe will hold a culvert pipe connecting the heating and hot water between the 2 houses. It will be an insulated pipe holding 4 water lines with a total diameter of 175mm.
Since the culvert pipe is large and we didn’t want to put it in place until after we pour the slab, we need an even bigger pipe allowing enough clearance to make it possible to push it into the workshop after the slab was poured. Might have been a bit overkill to do it this way but we didn’t want to have any pipes holding water permanently fixated in the slab making them hard to replace.
 The 315mm diameter pipe that will hold the 175mm culver pipe. For reference, the gray pipe right next to it is 50mm wide.
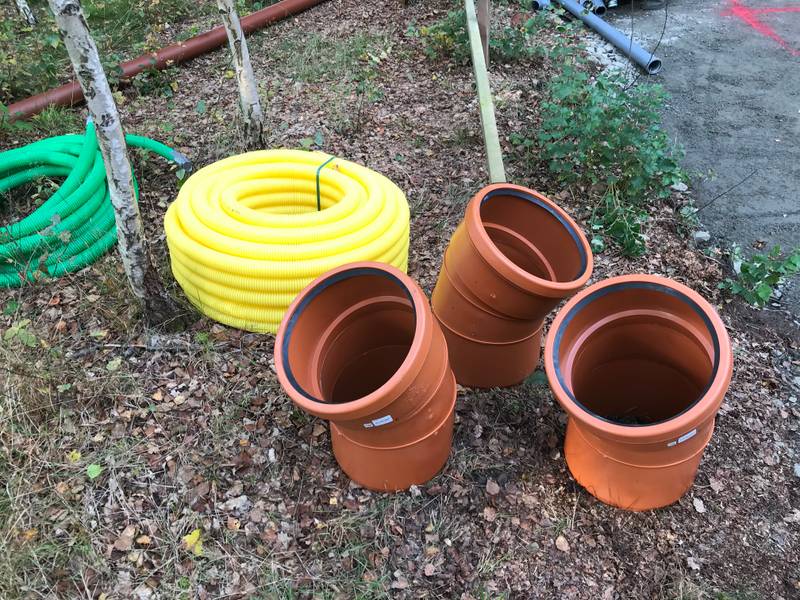 To not have a too tight bend for the 175mm culver pipe we got 3 x 30° bends making up the total needed 90° bend.
Backfilling
Once all the pipes were in place it was time to backfill and make the ground even again. While we got most of it done, Magnus came back the next day with a compactor to get and removing the left over stone crush.
 All pipes first got backfilled with the 0-16mm stone crush.
 Once all pipes got a layer of 0-16 stone crush compacted around them we levelled everything off with the 0-90mm stone crush.
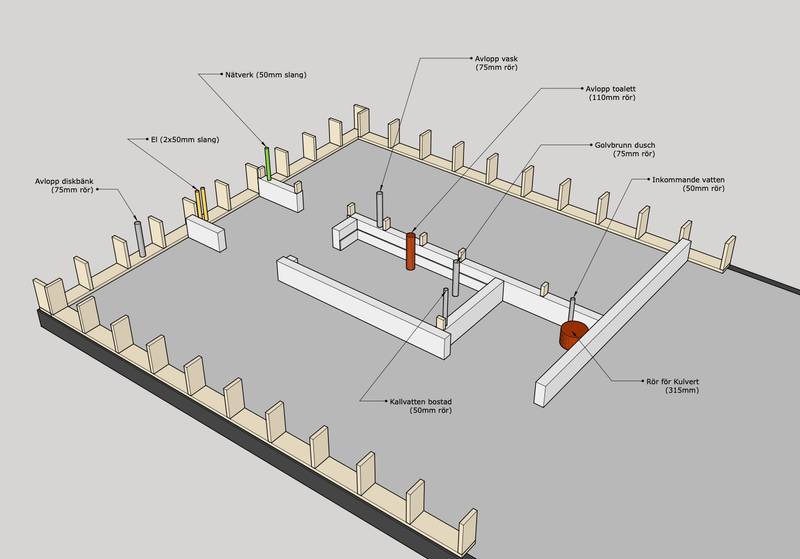 Sketch showing all subsurface pipes and how they will enter the workshop through the finished concrete slab.
What’s next?
All pipes for external connections are in place in the foundation subsurface. Next up is to get 10-15cm of 4-8mm sized gravel that will be the final surface where the foundation insulation will be placed. The goal is to pour the slab in about 3 weeks.
Exciting times ahead! 👍🏻