With a level gravel foundation in place, the next step is to place all insulation that will decide the outer perimeter of the finished slab as well as the floor height of the finished building. It all started an early, rainy but exciting Friday morning…
Early morning flood lights
In southern Sweden the sun is rising later and later and since this was an early morning, we needed proper flood lights to get enough light the first hour to get the work started. Luckily the contractor had great energy efficient LED flood lights that we could connect to our 2.5 kwh battery bank and 500 watt inverter. It worked flawlessly. Happy to see the battery bank get some proper use!
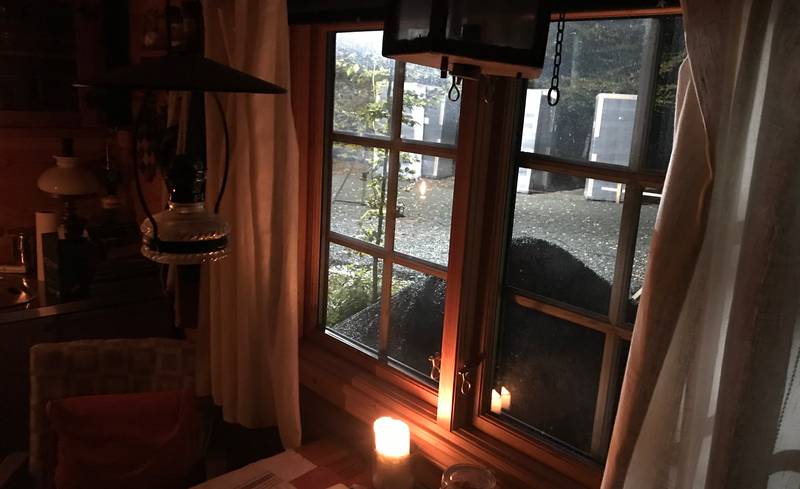 Early morning right after breakfast the yard was lit up ready for some action.
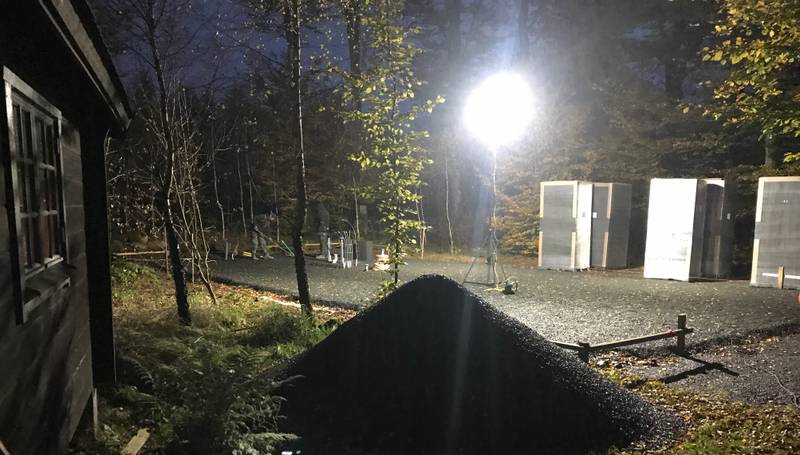 The foundation lit up with the guys working to make sure the gravel is level and ready for the foam glass insulation.
On the photo above you can see the stacks of foam glass, 7 of them, each weighting in at about 500kg. Before understanding how much insulation it really was we were actually considering hauling this on a trailer behind the car. Seeing how much it really was, it would have been pretty stupid and we’re glad we paid for proper transportation.
Foam glass perimeter elements
After much researching and looking at a variety of different types of insulation we finally settled on using foam glass insulation for the foundation. For us, this was the more expensive option and it was starting the build with going over budget for the foundation but in the end this felt like the best long term choice as the foam glass is superior to most other options in pretty much all aspects. Wikipedia has some more info here.
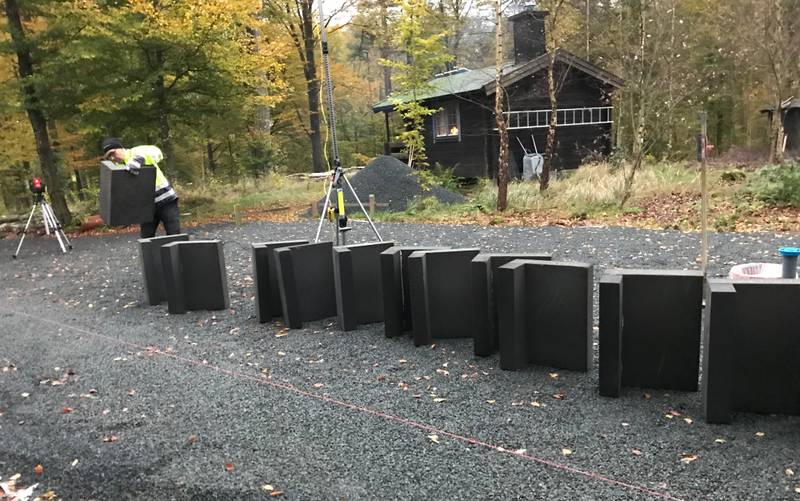 Måns lining up the foam glass elements, ready for quick placement.
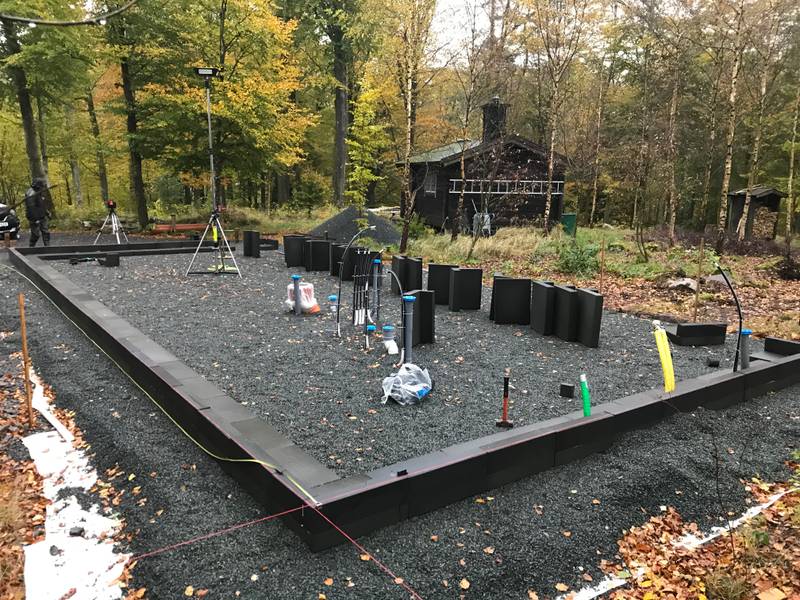 Much care was taken getting the outer perimeter as precise as possible. In the end the sides were pretty much spot on and the diagonal measurements were within 2mm of each other. Of course it was all 100% level 👍🏻
Once the outer perimeter was in place it was pretty much downhill from there. A bit of time was spent getting all pipes correctly through the insulation but it looked easy when the more experienced guys did it. Some levelling of the inner area was also needed but this was also pretty quick to fix.
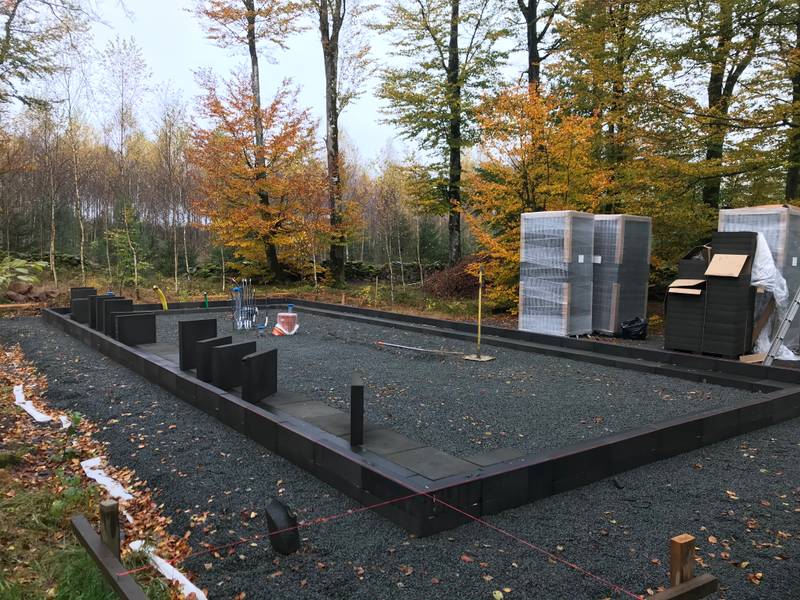 With the outer perimeter in place the rest was pretty straight forward.
First layer on place
Since this is going to be our workshop and the insulation itself is somewhat on the expensive side we went for 200mm of insulation underneath the final slab. It should be plenty enough and with in floor heating the climate inside the workshop should be more than adequate.
While the foam glass can withstand a lot of pressure (up to 50,000kg per square meter) it was surprisingly easy to cut into.
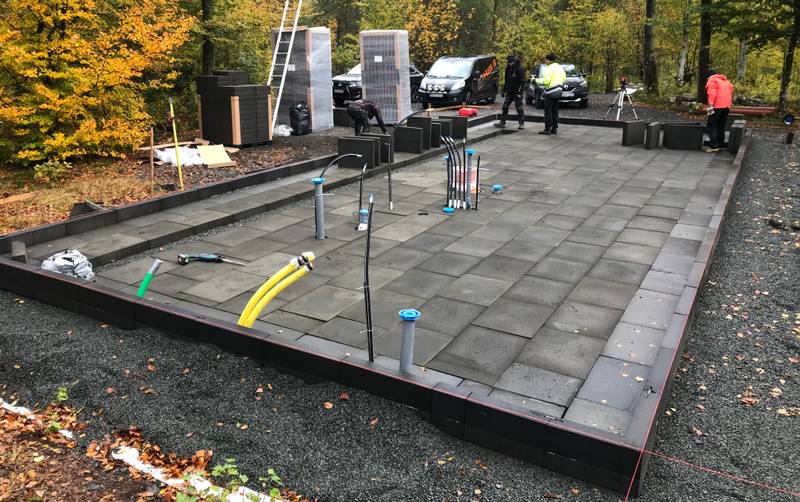 First layer in place. To fit the last row of blocks there was a bit if cutting needed to get them all to the right dimensions.
All done
With each block being 100mm thick it only took 2 layers to reach the final insulation height. Also, all perimeter elements where secured with special screws to make sure they would not move when pouring the concrete.
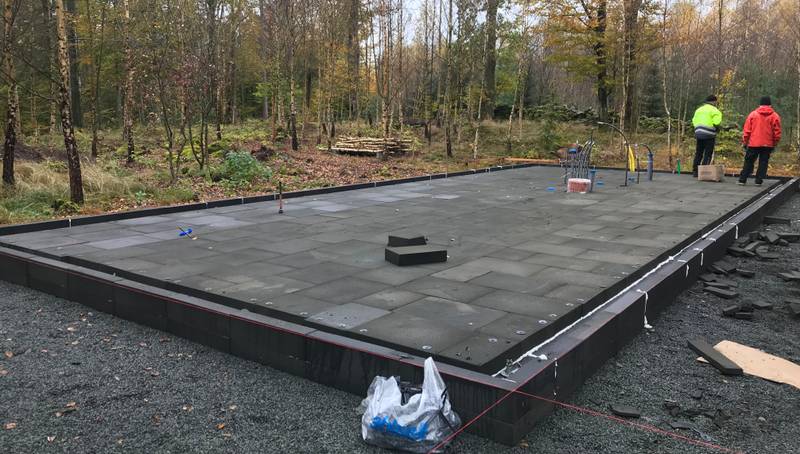 All insulation in place. A string of expanding foam was sprayed between the outer perimeter block and the second layer perimeter block to make sure no concrete with sip under the insulation lifting it up.
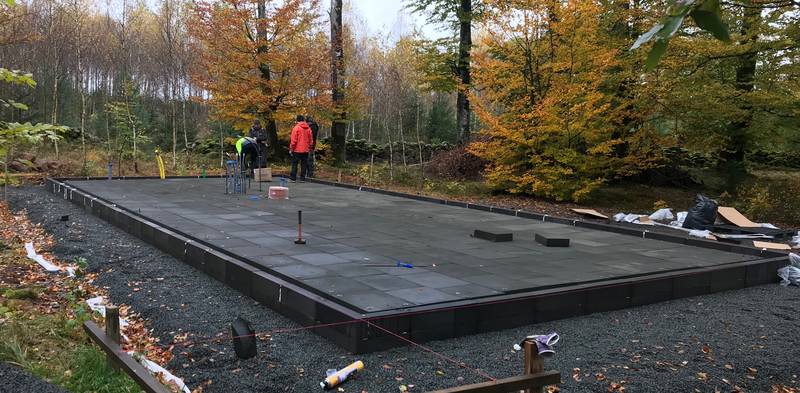 Also, any cracks between the perimeter blocks was filled with expanding foam to make sure no concrete would leak out.
Next up
All in all the work took us about 5 hours. Before we are ready to pour the concrete the in floor heating and water pipes need to be installed.
