

We’ve been busy the last couple of weeks with the last preparations getting all material, screws, scaffolding, nails, machines etc. in place for the planned easter weekend framing. There was a lot of things that needed to work out right and while not everything went as smooth as we were hoping it’s fantastic to finally see frame fully erected.
Scaffolding
A pre-requisite to even start building the frame and more precisely getting the roof sheathing in place was the scaffolding. We spent a day before easter weekend raising the scaffolding and getting ready for framing. We did plan on buying the scaffolding but due to delivery taking longer than expected we had to rent a frame instead.
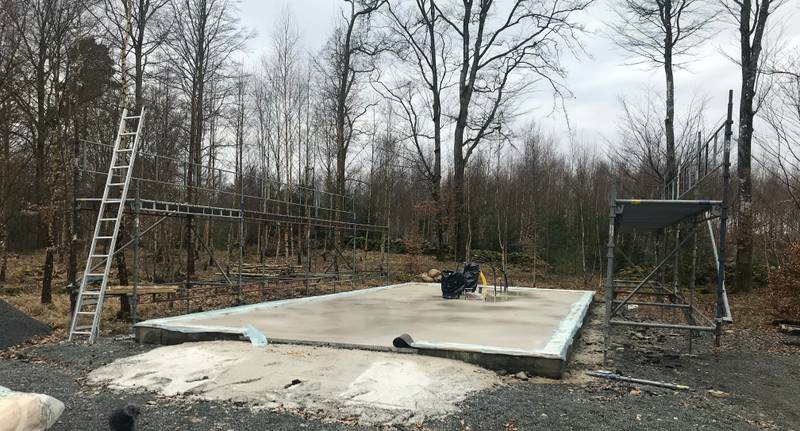 We put up scaffolding along both sides of the house.
 A rusty old steel Haki scaffolding. Heavy but once in place a very sturdy piece of equipment.
Getting the material
The day before easter weekend the plan was to receive all material. That day was quite busy and it was crucial we got everything we needed to be able to erect the full complete frame of the workshop. Most went as planned except the roof sheathing that at first could not be delivered on time but thanks to Peter at our local Derome building supplier we managed to get all materials ready by the end of the day.
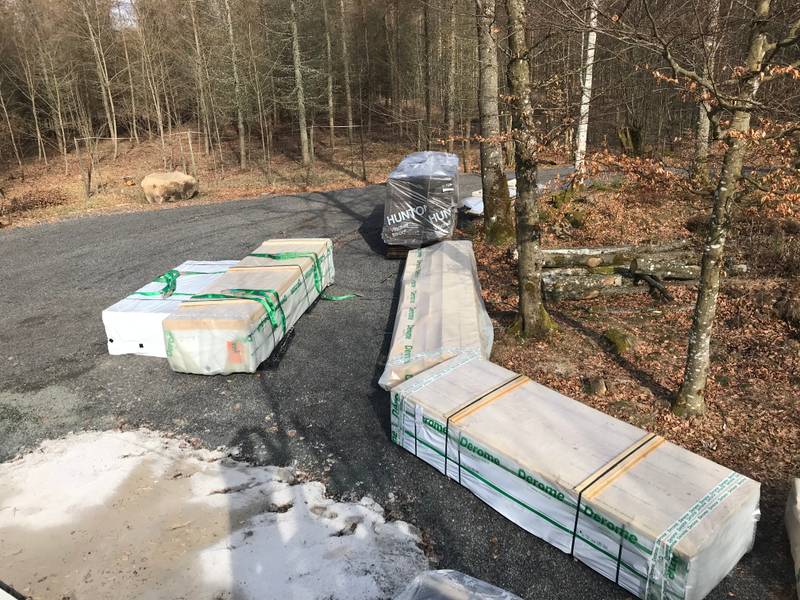 Lots of studs + roof and wall sheathing.
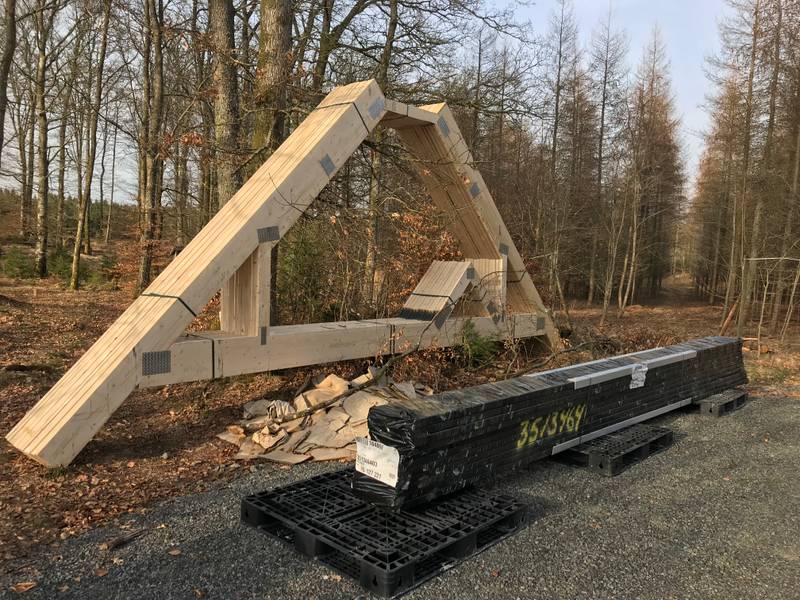 The roof rafters and beams for the loft above the workshop.
The frame goes up
We’ll let the photos tell the story here. A few technical details; all studs used when building the outer walls are 220x45mm. The height of the outer wall, when complete, is exactly 3 meters. The rest is pretty standard.
Day 1
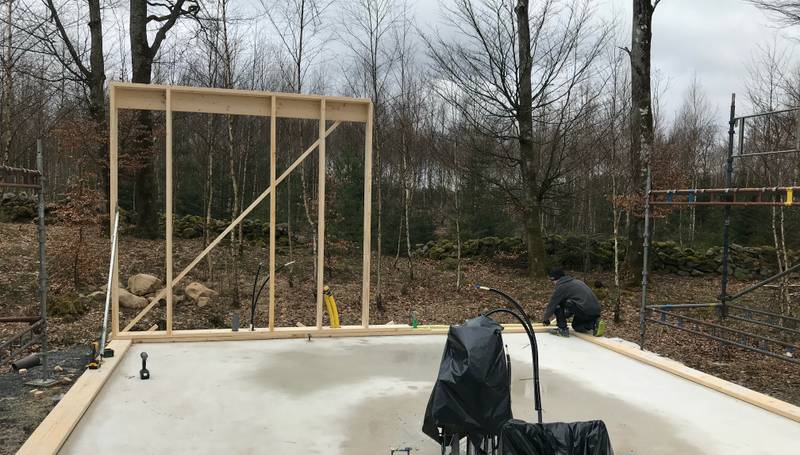 The first wall went up pretty quickly. No hiccups.
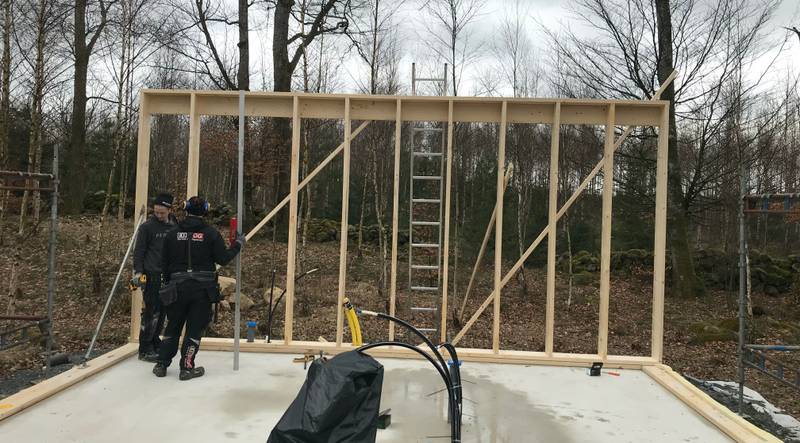 When deciding on a 3 meter interior ceiling height we were almost thinking it may not be high enough. Once the first wall went up we were definitely not worried about that anymore 😀
 It was smooth sailing pretty much the entire first day.
 It felt great ending the first day with pretty much half of all walls done.
Day 2
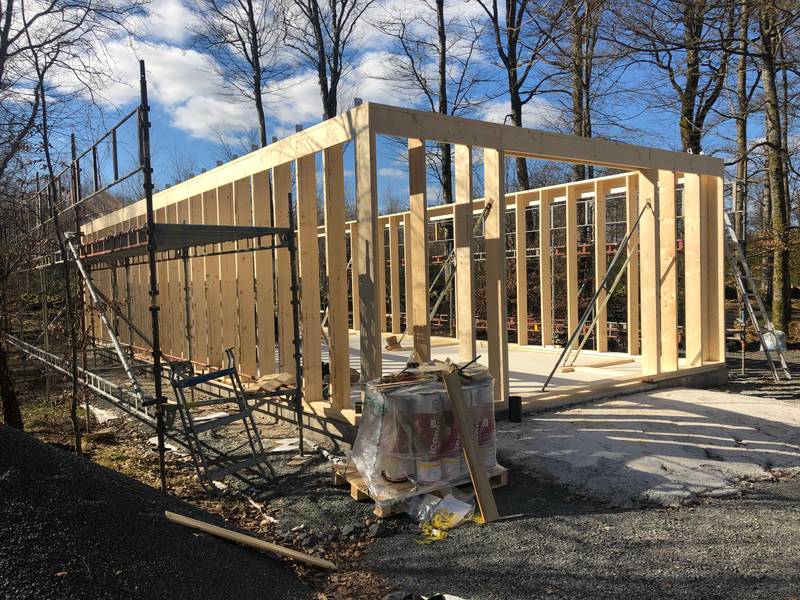 The day went so quickly that we almost forgot to take any photos. All outer walls done.
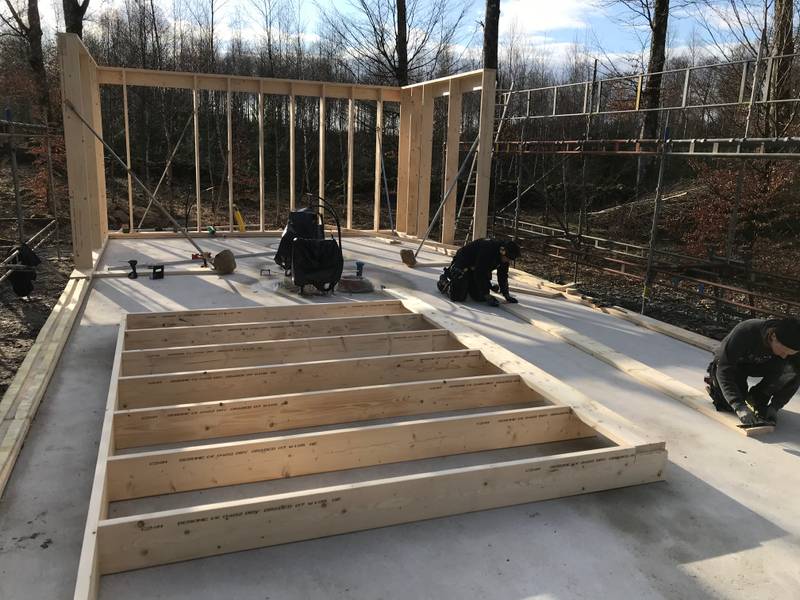
 All beams (May be called floor joists too in this case) ready to be put into place.
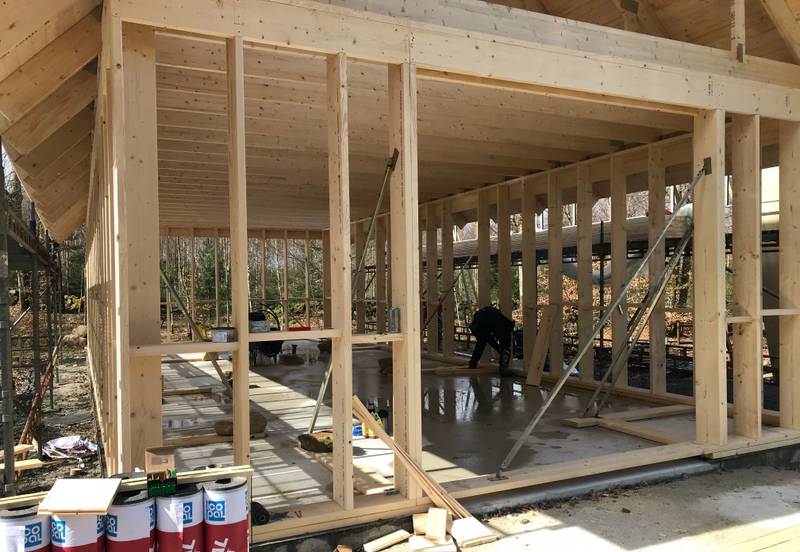
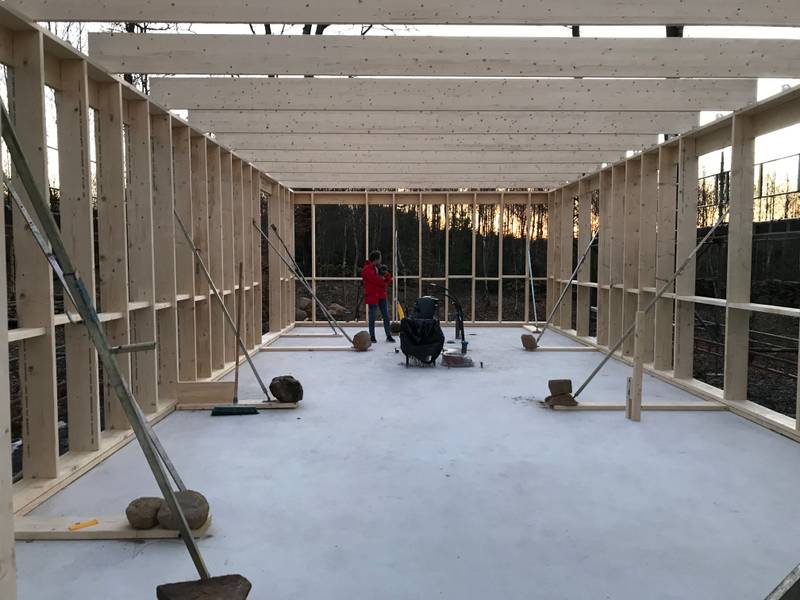 With the beams in place we got a taste of the space inside the workshop. First impression; it feels a lot bigger than we anticipated.
Day 3
Aa planned, day 3 started with the crane arriving to help hoist the roof rafters in place which went all smooth. Nice to have professional help.
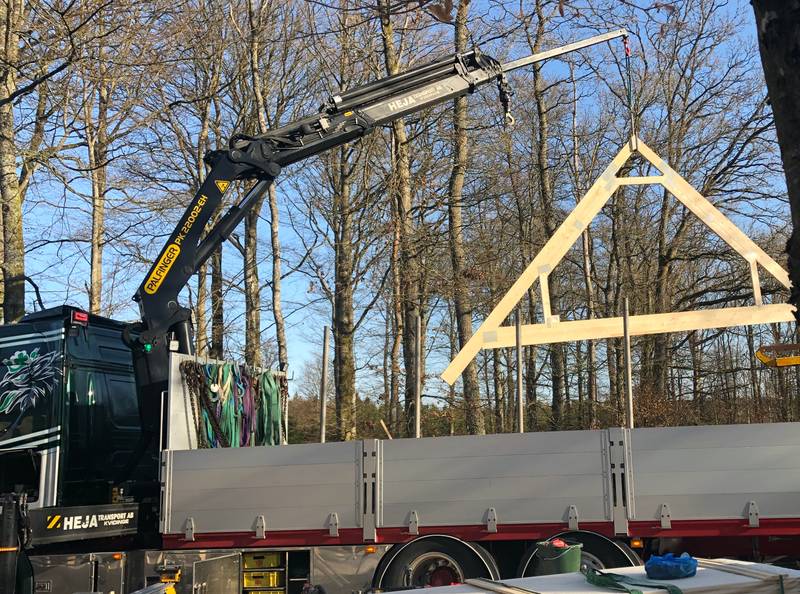 The truck with the crane hoisting the rafters in place.
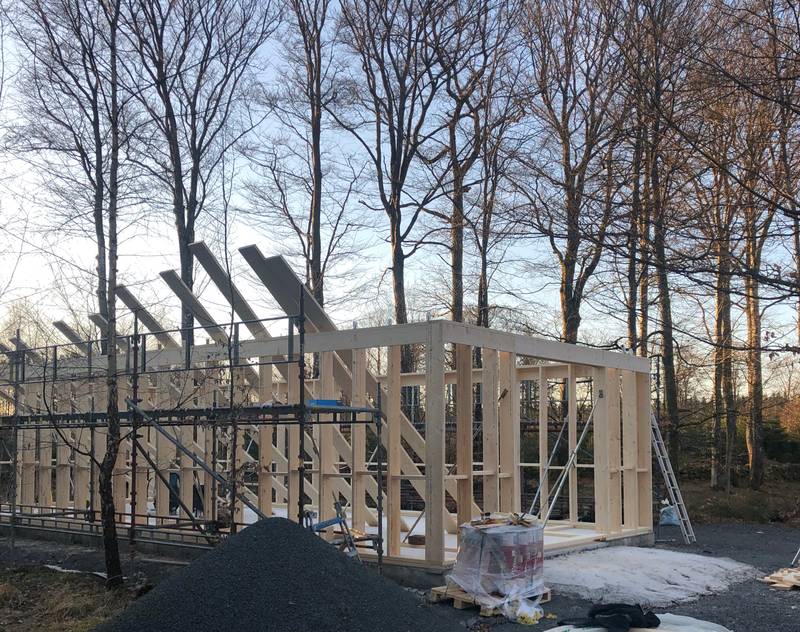
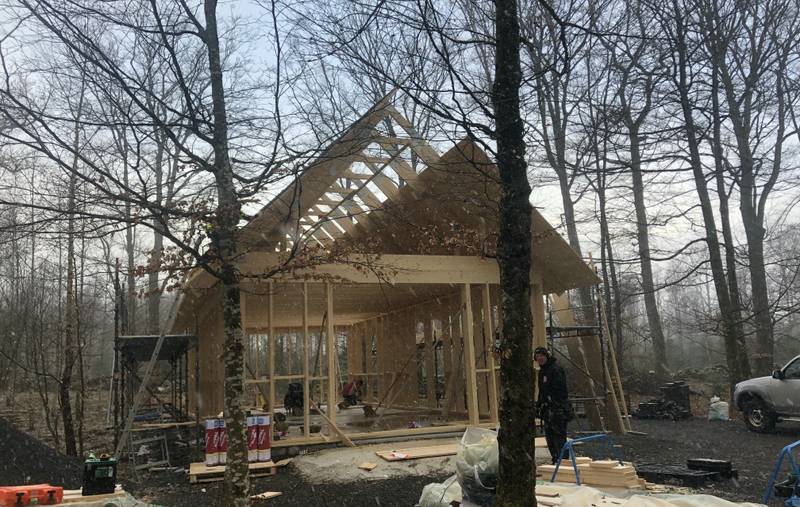
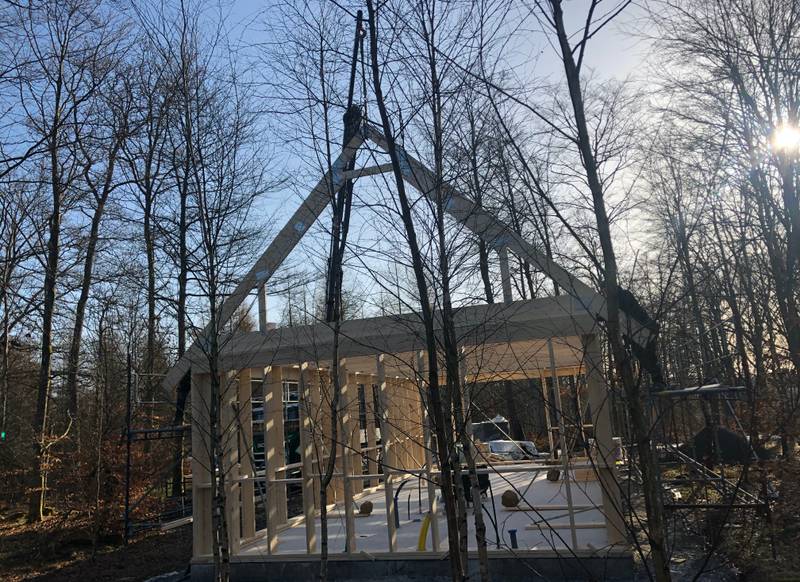 First rafter in place. As with the framing, the house suddenly felt a lot bigger than we expected.
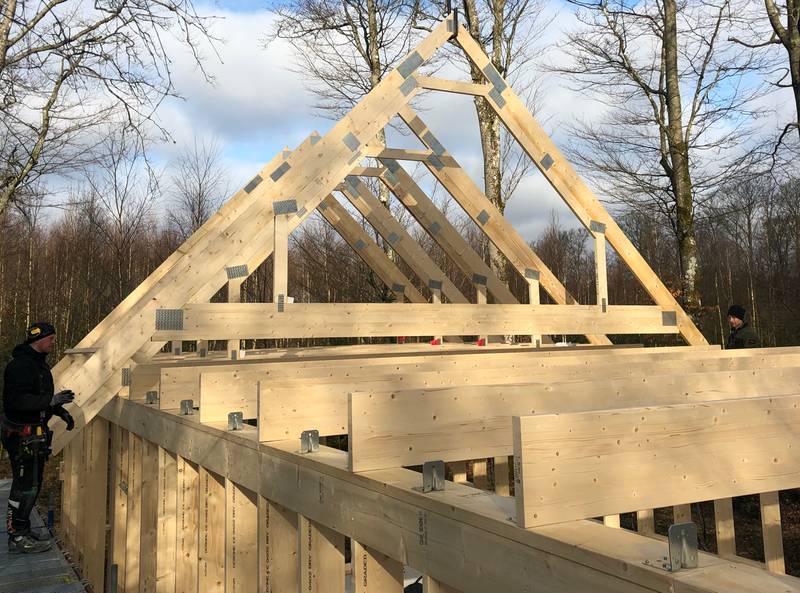 Erik and Victor guiding and securing the rafters as they’re hoisted by the crane.
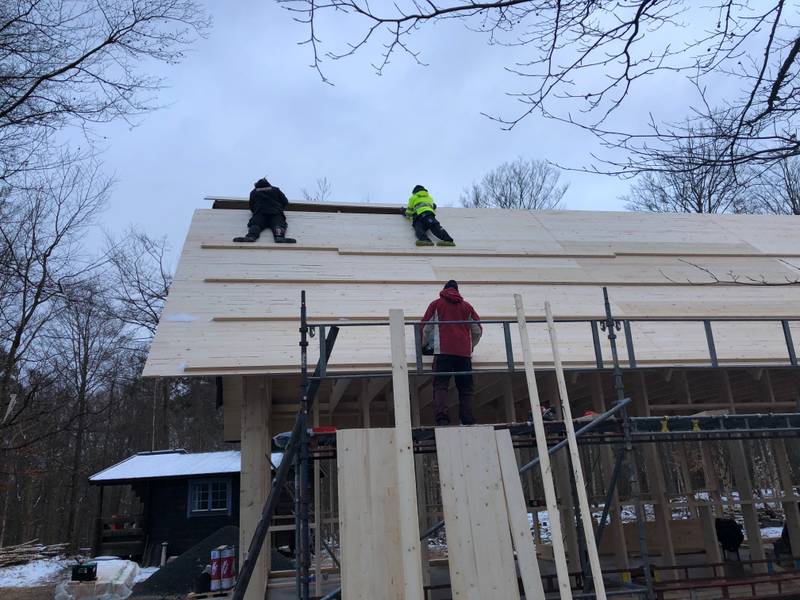
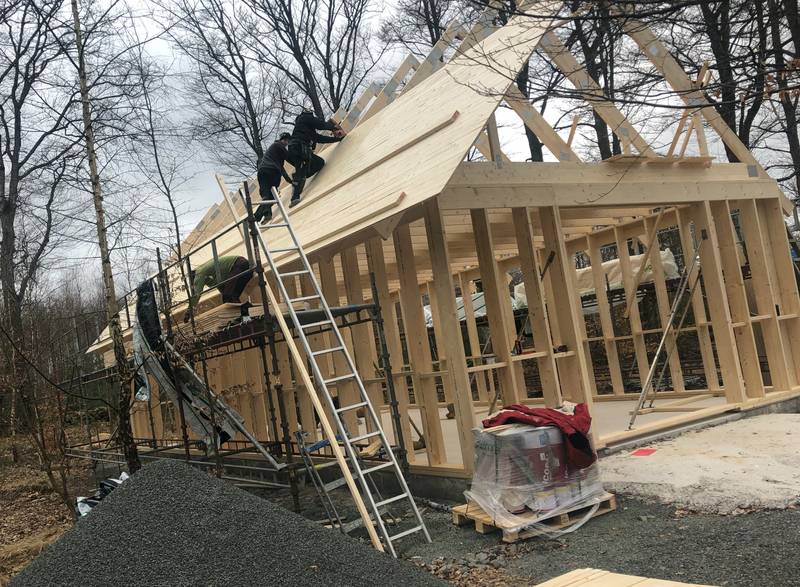 Once rafter were in place, we got to work getting the roof sheathing in place.
 More sheathing going up. The sheathing consist of several tongued and grooved 23mm thick wooden planks fastened together forming the sheathing.
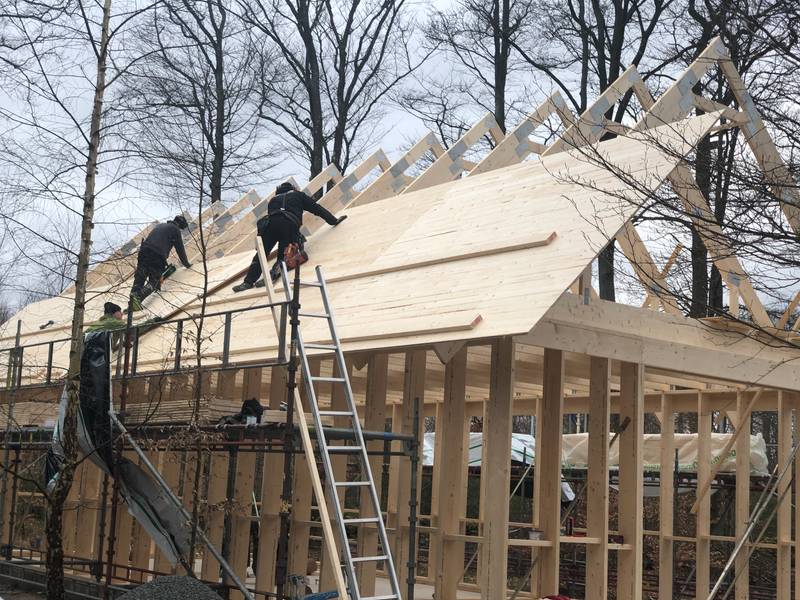
 It was a rather windy day so keeping the sheathing under control was sometimes a bit of a challenge (even though in this particular picture everything looks under control).
 Once the sheathing was in place we got going with the first protective layer. It was a lot more time consuming than we expected to get them rolled out and fastened.
Day 4
Most of day 3 was good and we progressed pretty much as planned all up until we started putting down the first protective layer. This to a lot longer than expected and threw most of our schedules on its end. Day 4 started on a low note and since the weather was expected to get worse we started sheathing the other side of the roof before finishing the protective layer on the first side.
 We were almost done with the sheathing on the other side of the roof when it started to rain hail.
 About an hour later the weather was beautiful with lots of sunshine melting the hail.
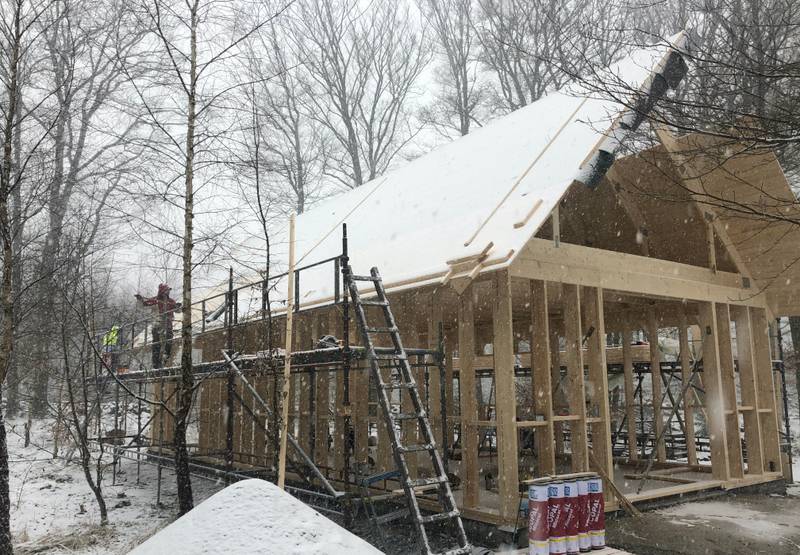 After another hour of really nice warm sunshine it started to snow. Quite a bit of snow actually. Hard to work in these conditions on the roof. We just tried to keep the snow off the roof to not have it melt later on the sensitive wood plank sheathing.
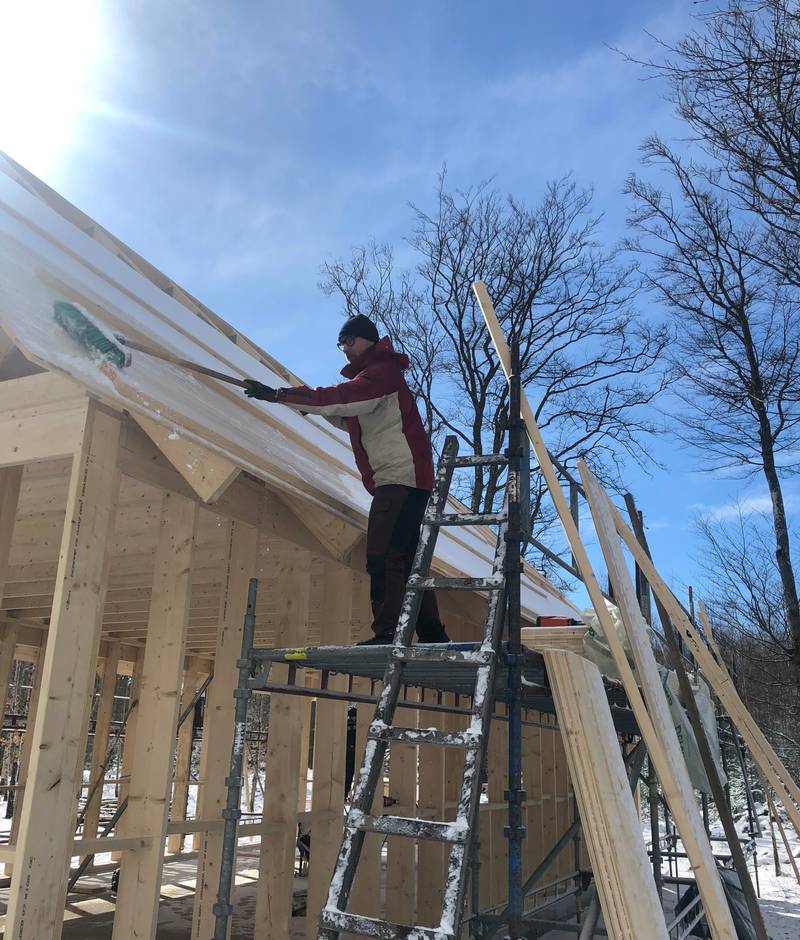 And once again the weather shifted. A nice sunny winter day. Trying to get rid of the snow before it melts.
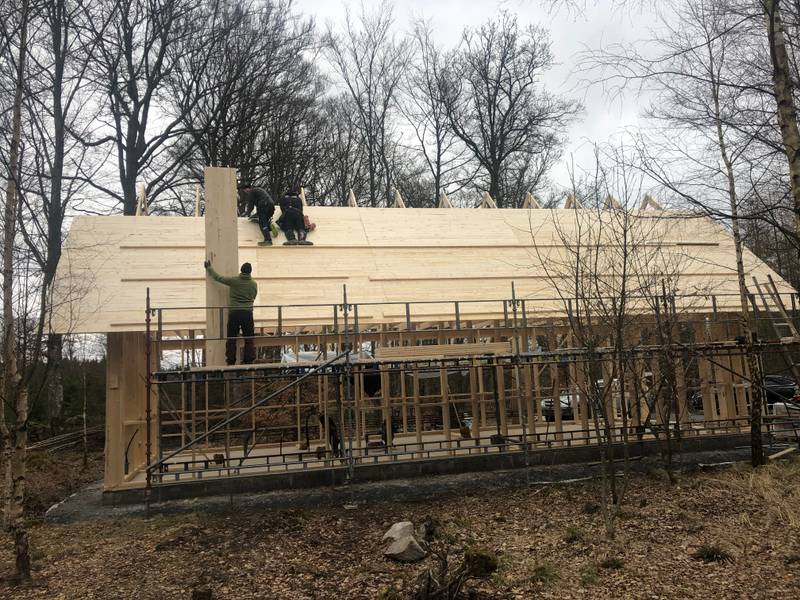
 The last piece in place. Roof finally done, now we just need to protect it from rain.
Almost done
Most days went on according to the plan except the weather getting all weird on day 4 and the slow process of getting the protective layer in place. We ended up just finishing one side of the roof and put a tarp on the other side to protect it from rain for the time being.
Getting the protective layer in place proved harder than we though and we’ve decided to hire a contractor that specializes in roofing to finish the roof for us. Even though things ended on a low note we’re happy with the work we got done. Huge shout-out to Victor and Erik for helping us get this much done in just 4 days 👊🏻 We owe you big time!
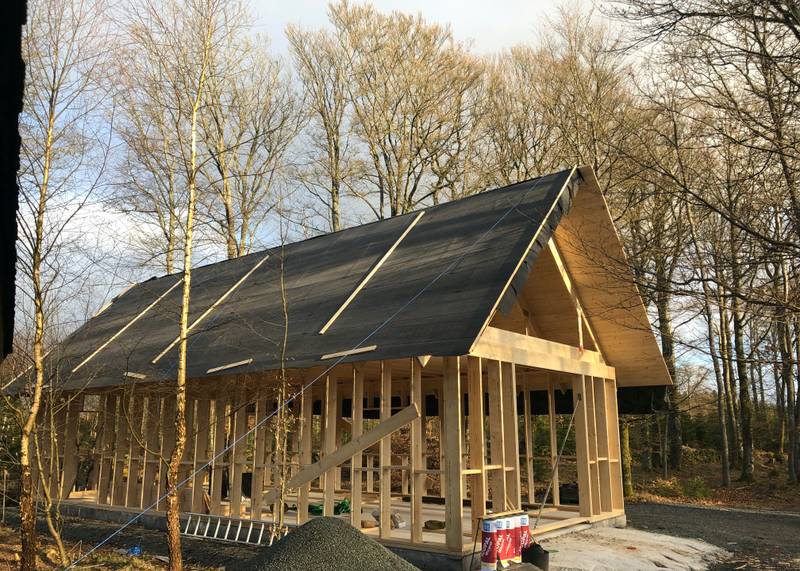 What it looks like so far with the tarp hanging down covering the north facing side of the house.
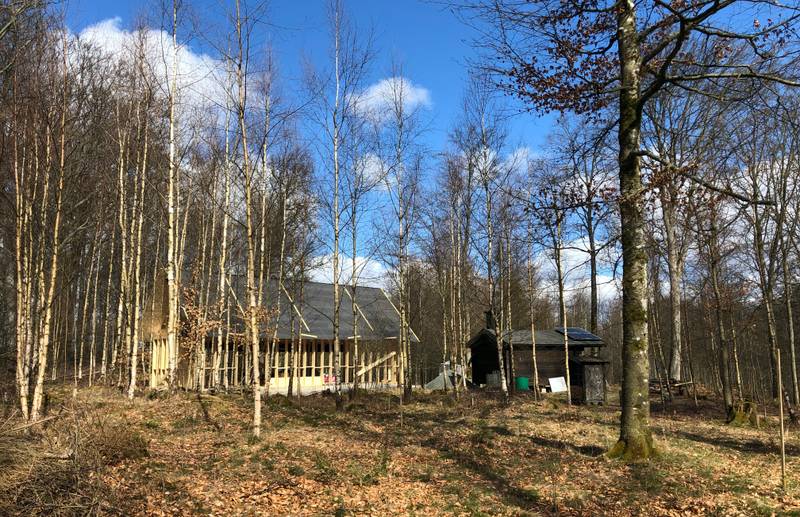 The workshop from a distance.