

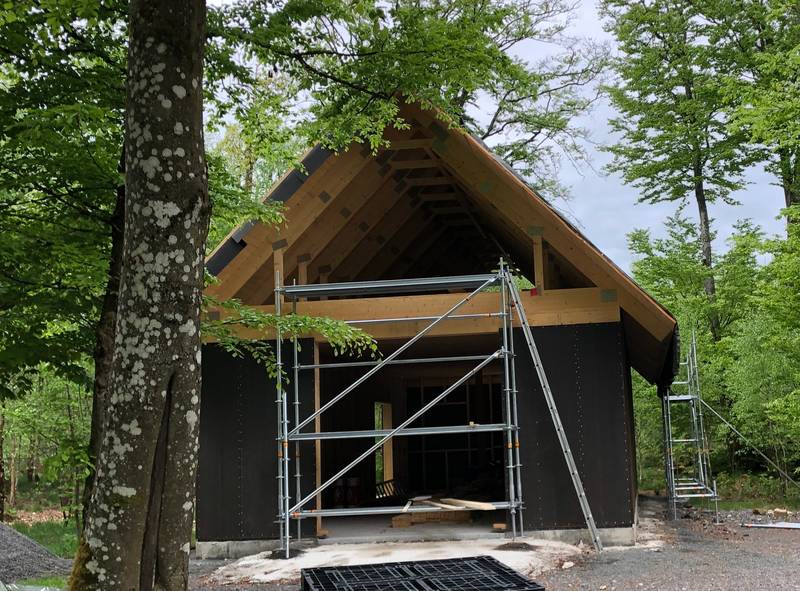
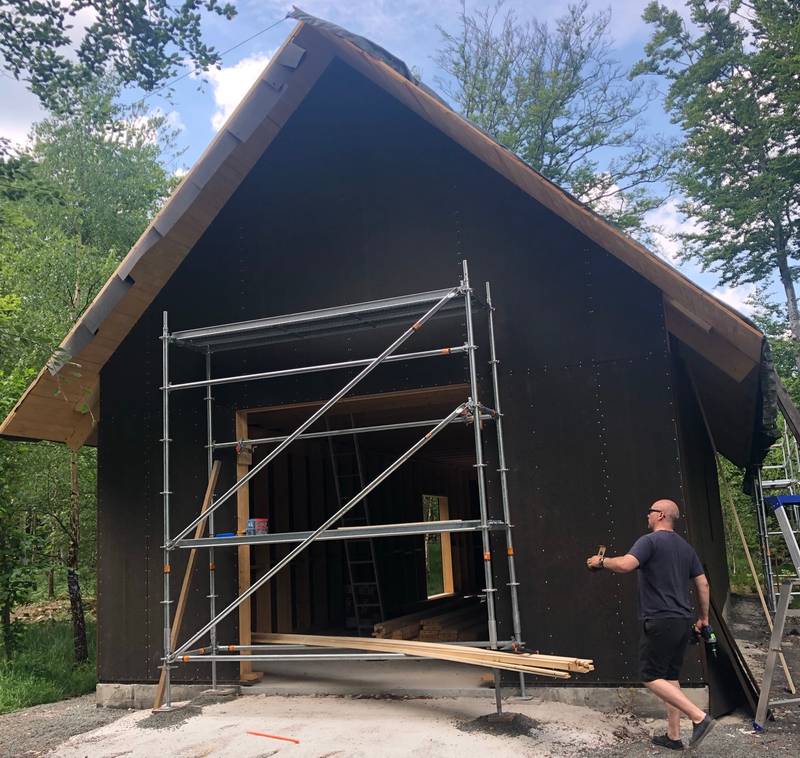
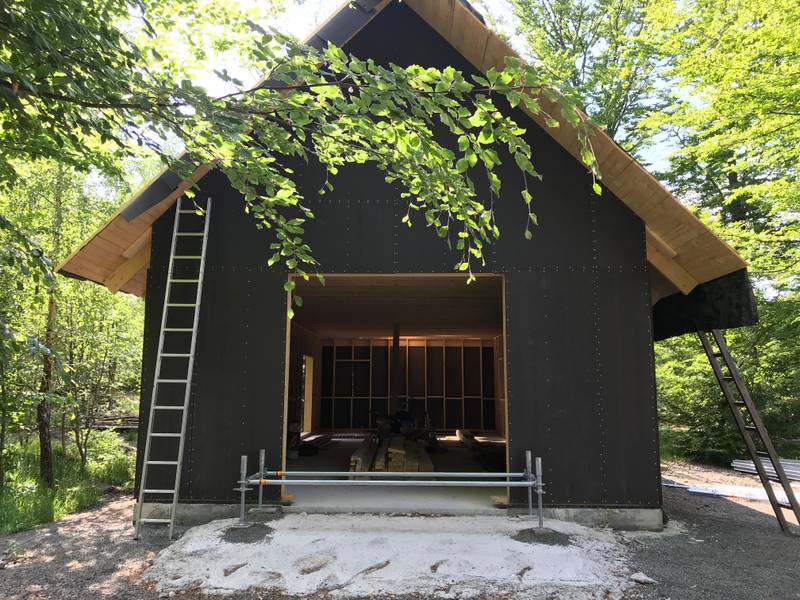
Long time with no posts but things have been progressing nonetheless. The gables are up, all sheathing are in place, most battens are in place and about 20% of the burnt timber cladding is in place. A lot of learnings in the process but it’s nice to finally see some parts of the build actually fully finished.
Gables going up + sheathing
The plan from the beginning was to raise the frame and the construct the gables after the roof and walls were in place. As Sheathing is finished on the lower part of the building, next step was to get the gables framed and sheathed.
 The east gable before framing and sheathing.
 …and a closeup of the east gable.
We had prepared the gable studs beforehand to make good progress quickly. Although all studs we had pre-cut were wrong we didn’t loose that much time.
 The studs going up.
 Almost done with the studs!
 A few more screws and the sheathing is up on the east side.
 Different day but same work on the western facade.
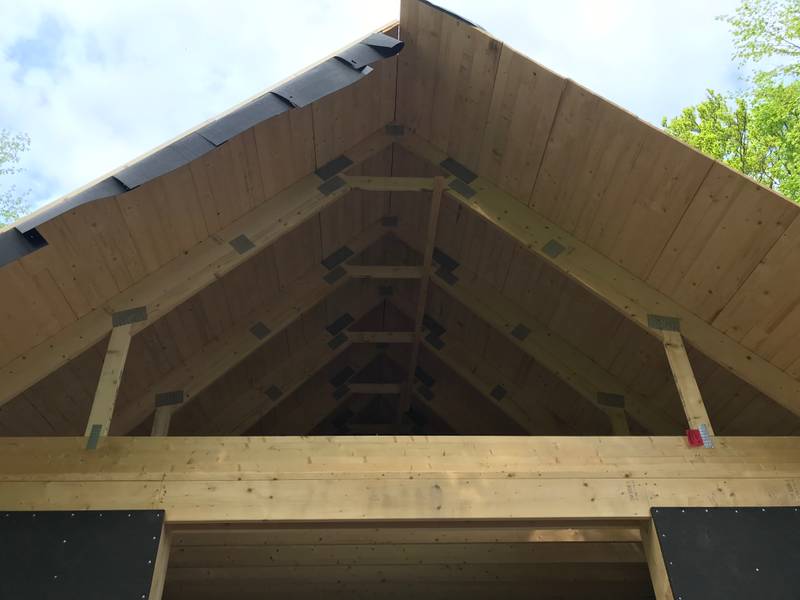
 All done for now on the east gable.
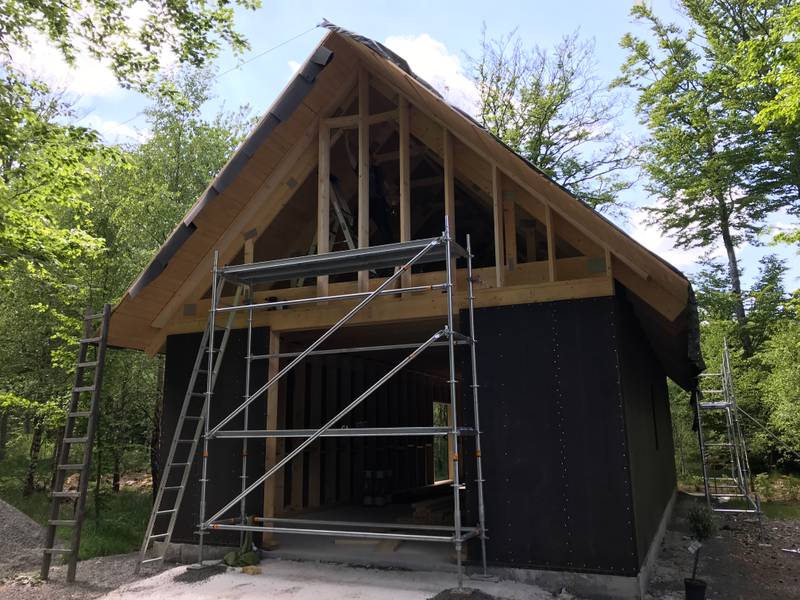
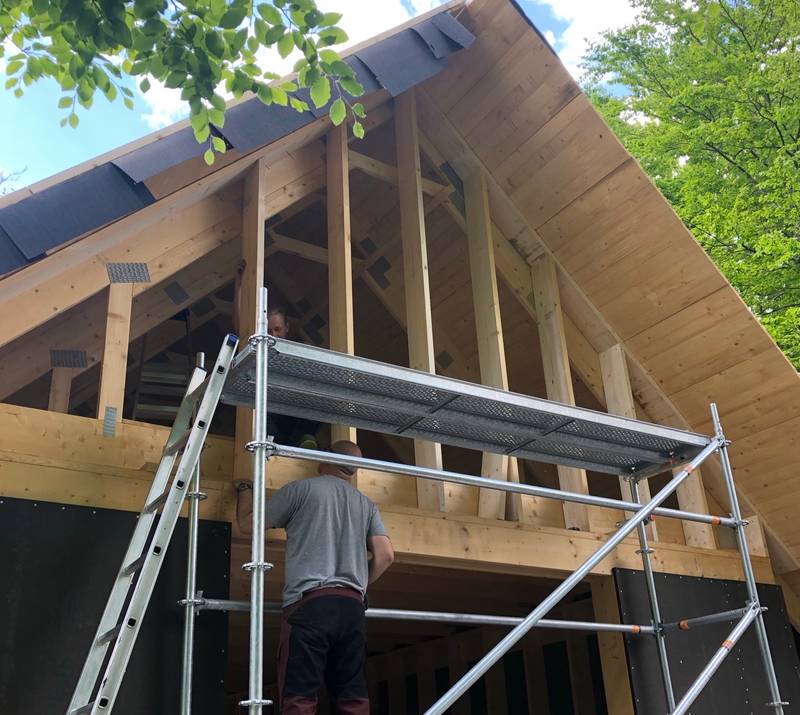
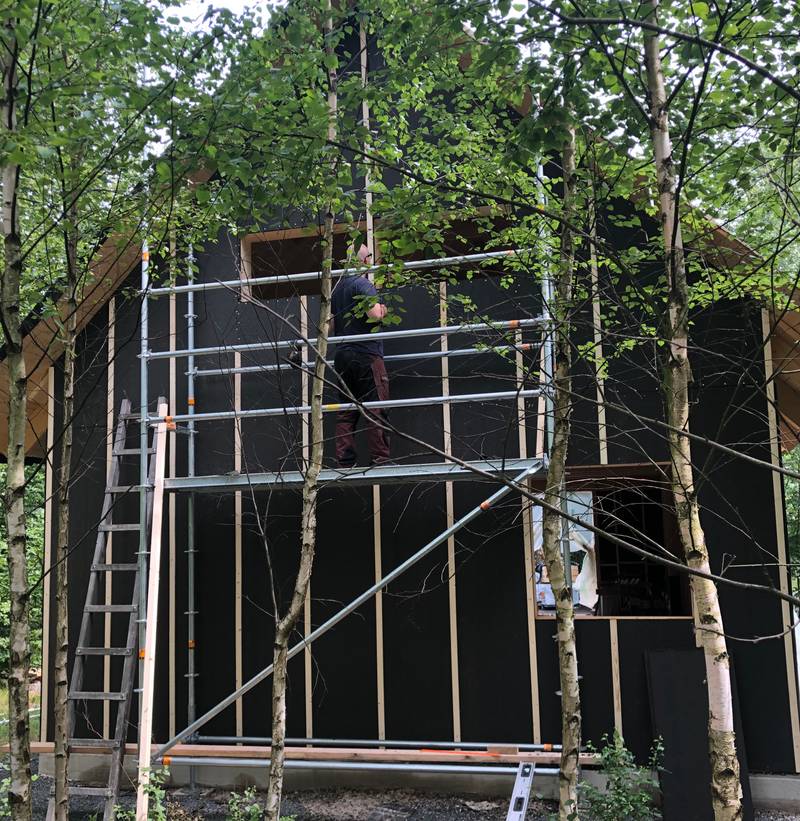
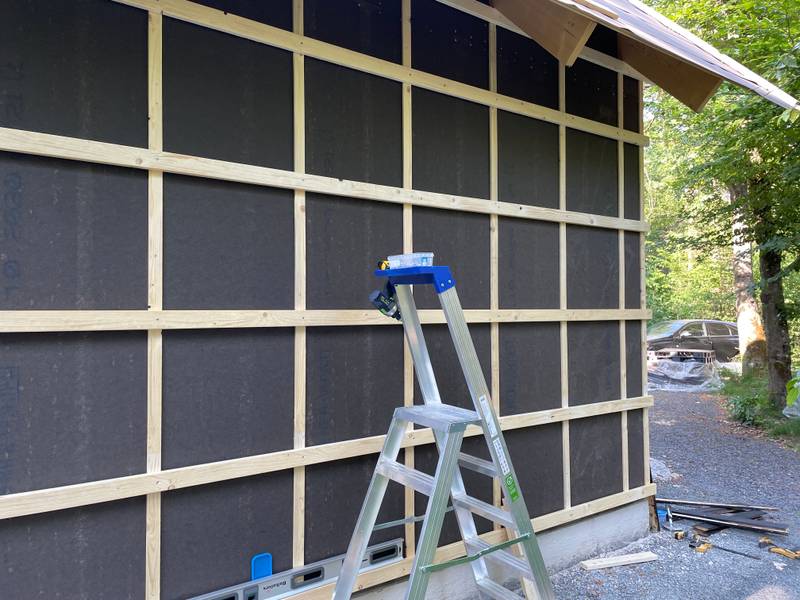
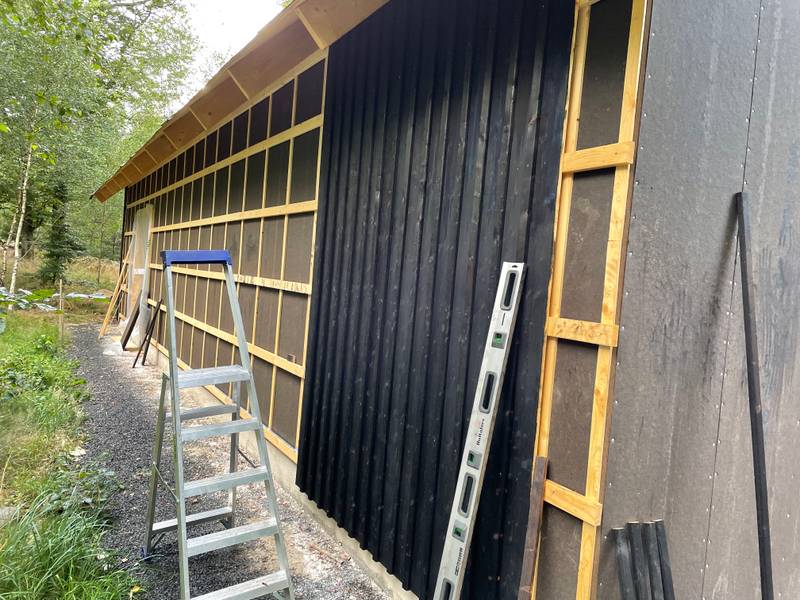
The battens
With all sheathing in place, next step was to get the battens up. After some research on how this is normally done we opted for a 12mm thick vertical batten to get proper ventilation behind the cladding and then a 28mm thick vertical batten. The burnt timber cladding with be nailed onto the 28x72mm batten. All battens are screwed in placed 600mm CC.
 Some of the battens in place.
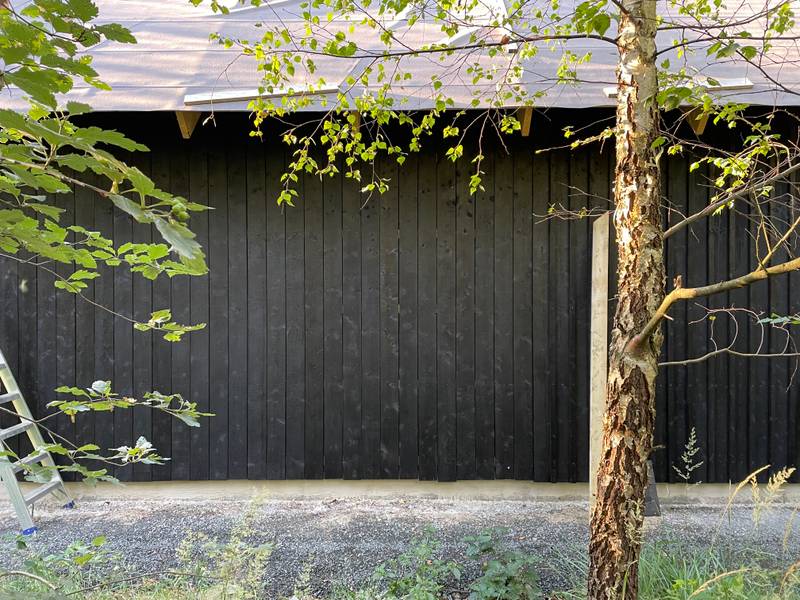
Burnt timber cladding
Also known as Yakisugi or Shou Sugi Ban, we’ve had our eyes on this technique for a while together with a more traditional swedish ‘Slamfärg’ but after doing a few tests we decided to go for the charring.
While using cedar was never really an option (it’s not that common in Sweden and pretty expensive) we did tests with pine and it seemed to work really well so we went ahead and ordered the 315 boards of 3.6m long pine boards for the facade.
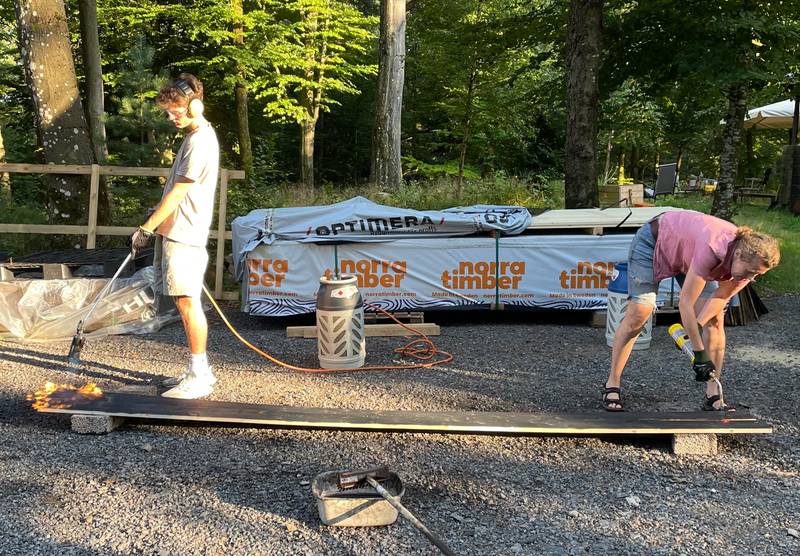
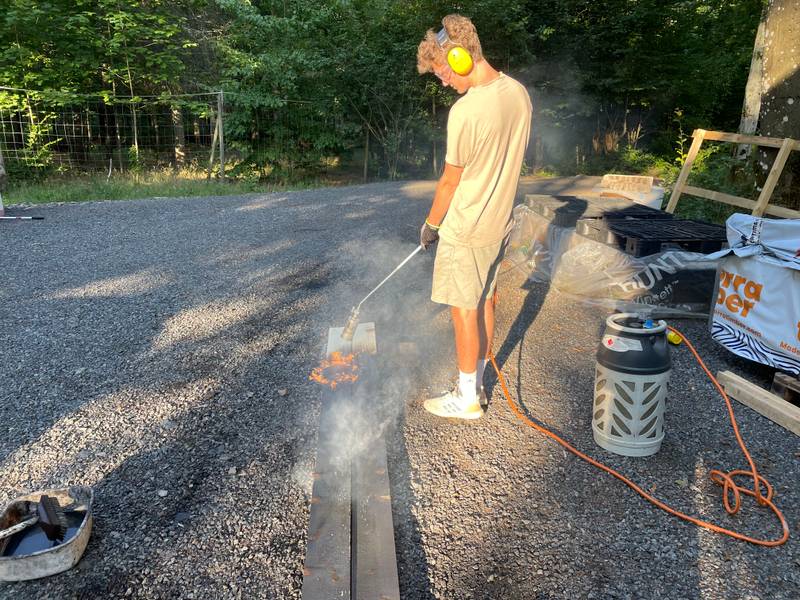 Burning the wood with a weed blow torch. We’ve tried with 1, 2 or 3 boards with felt that burning 2 boards and the same time was the best.
 The torch does sounds quite a lot and when burning this many boards it’s good with some ear protection.
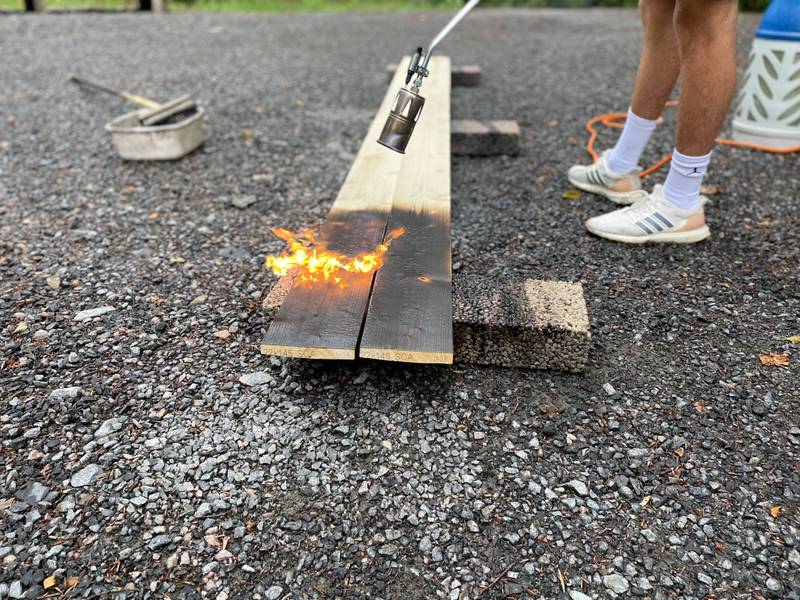
 When burning a board, the knots doesn’t char as easily as the rest of the wood. You can either burn the whole board more and get deeper char and use more propane or do as we opted for; burn the knots with a small burner instead.
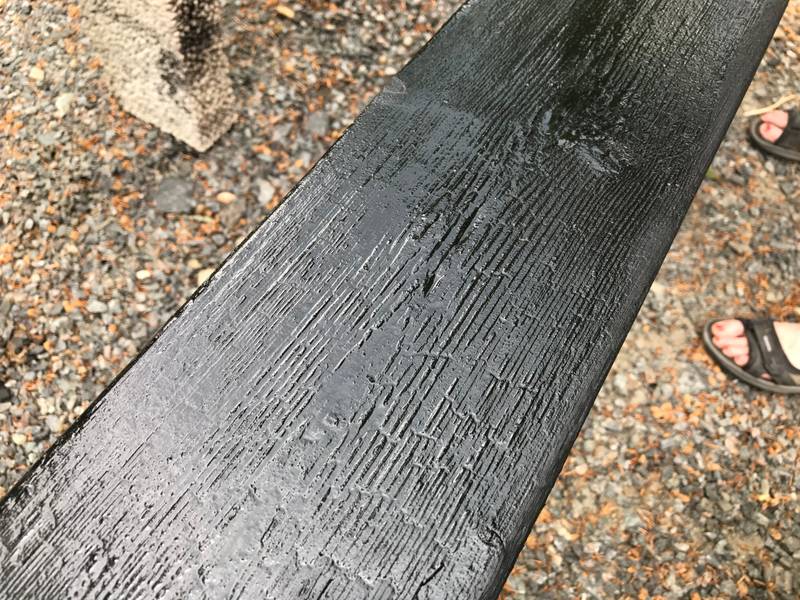 After charring, each board is brushed with water and a soft brush and painted with raw linseed oil.
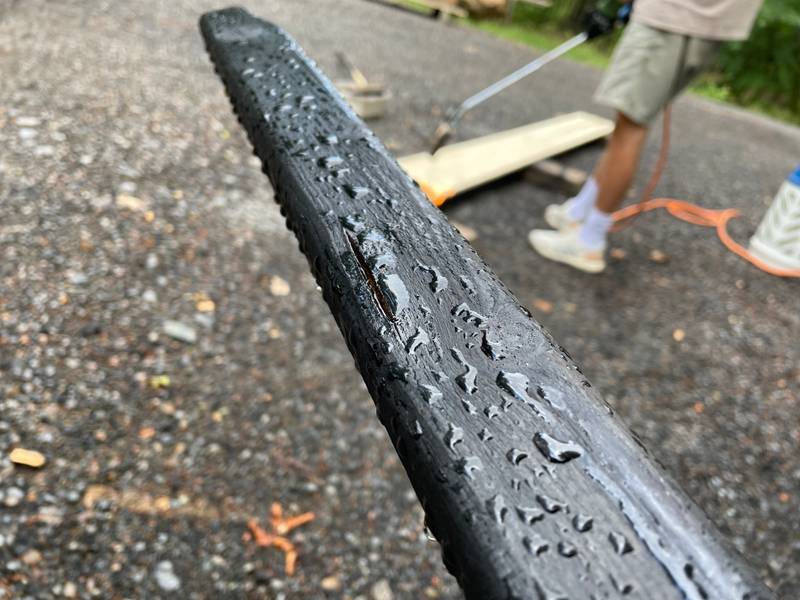 The finished board repel water and should hopefully last years with zero maintenance.
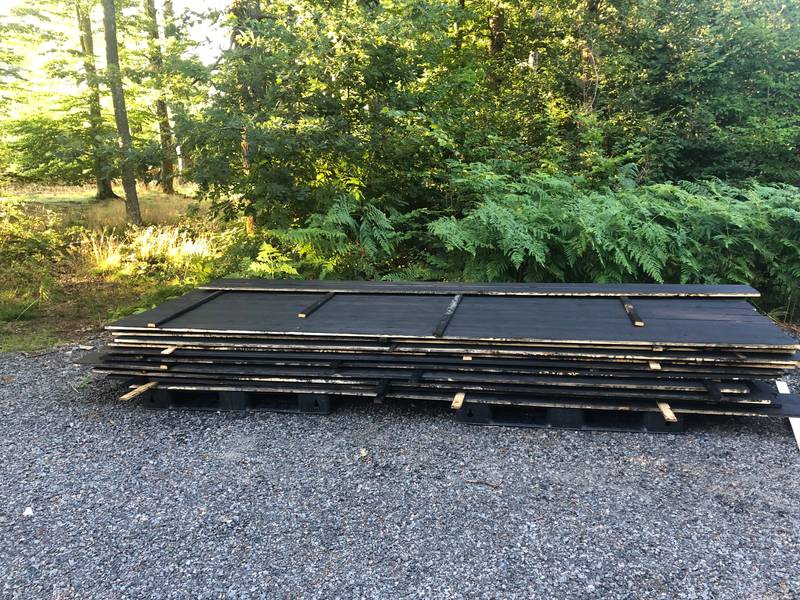 Finished boards stacked for drying.
Nailing the boards
The great thing with raw linseed oil is that it penetrates the wood better tha most other oils but it dries very slow and since we want to get the boards up it’s a bit of a messy process handling the not so dry boards. Over time the oil will dry and any left over charring will be washed off.
Mounting the boards are done with 50mm galvanized nails and 75mm nails for the locking boards. Each board is 145x22mm and the locking boards are 45x22mm. All nailing is done by hand, takes a bit of time but gives a slightly different look than with a nail gun.
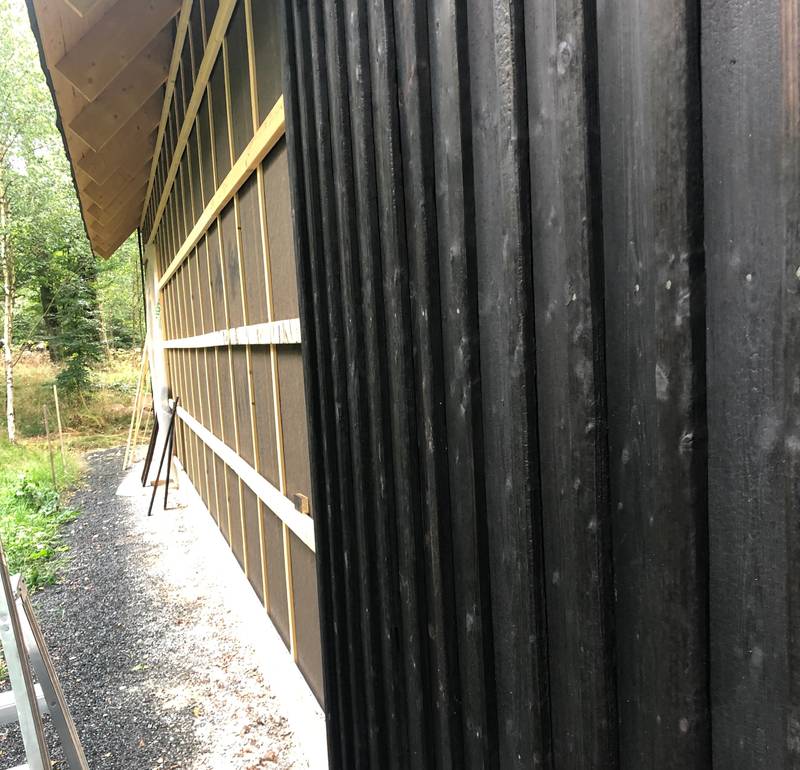 A few boards up.
 As expected, the boards are not as even looking as if they were painted but it’s a look we like and wanted so we’re very pleased with it.
 Finished boards stacked for drying.
Next up
All in all it’s been a few productive months since last post. Right now it’s full focus on getting all cladding done while planning the install of the windows and getting the large doors made and put in place. Pleased with the progress and looking forward to getting the whole workshop fully weather sealed in the coming months.